> ## Documentation Index
> Fetch the complete documentation index at: https://easy-peasy.ai/docs/llms.txt
> Use this file to discover all available pages before exploring further.
# AI Photo Studio
> Upload a few photos of a person and create new photos of them in any setting, from a prompt or with ready-made photo packs.
**AI Photo Studio** makes new photos of a person from a few pictures of them: professional portraits, lifestyle shots, travel photos, or creative looks. You set up a **model** of the person once, then describe any scene with them in it.
Use it for profile pictures, social media, marketing with your team's faces, or fun portraits. Only upload photos of yourself, or of people who agreed to it.
Creating a model and photo packs are for paid plans.
## Create a model
Click **Images** > **AI Photo Studio** in the top menu, or go to [easy-peasy.ai/ai-images/models](https://easy-peasy.ai/ai-images/models). Click **Start Your AI Photo Shoot Now**, or **Train New Model** if you already have one.
Drag in photos of the same person, PNG or JPEG. Use sharp, well-lit photos where only that person is in view, from different angles and in different settings. Avoid group photos and blurry or heavily filtered pictures.
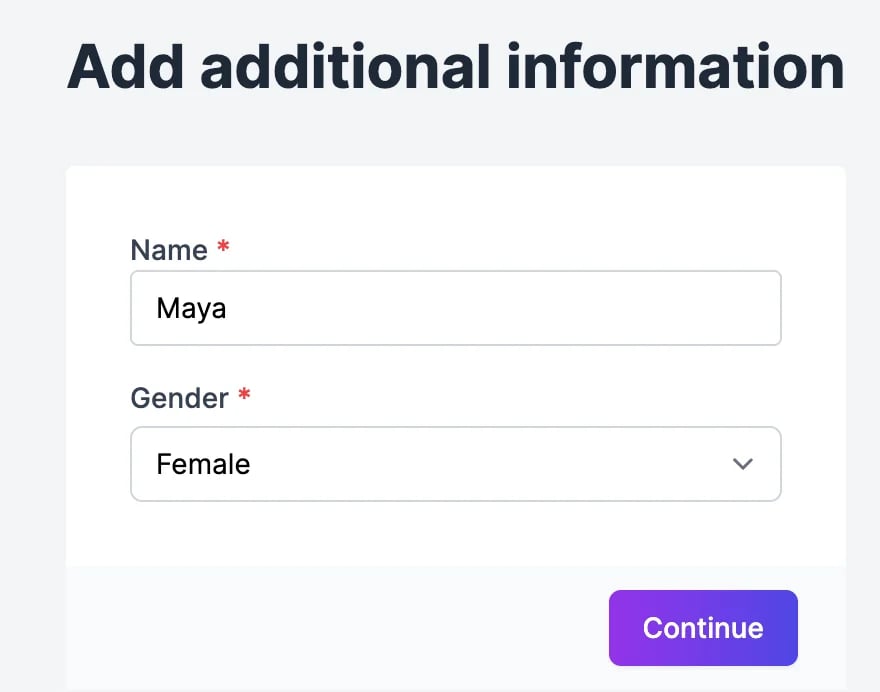
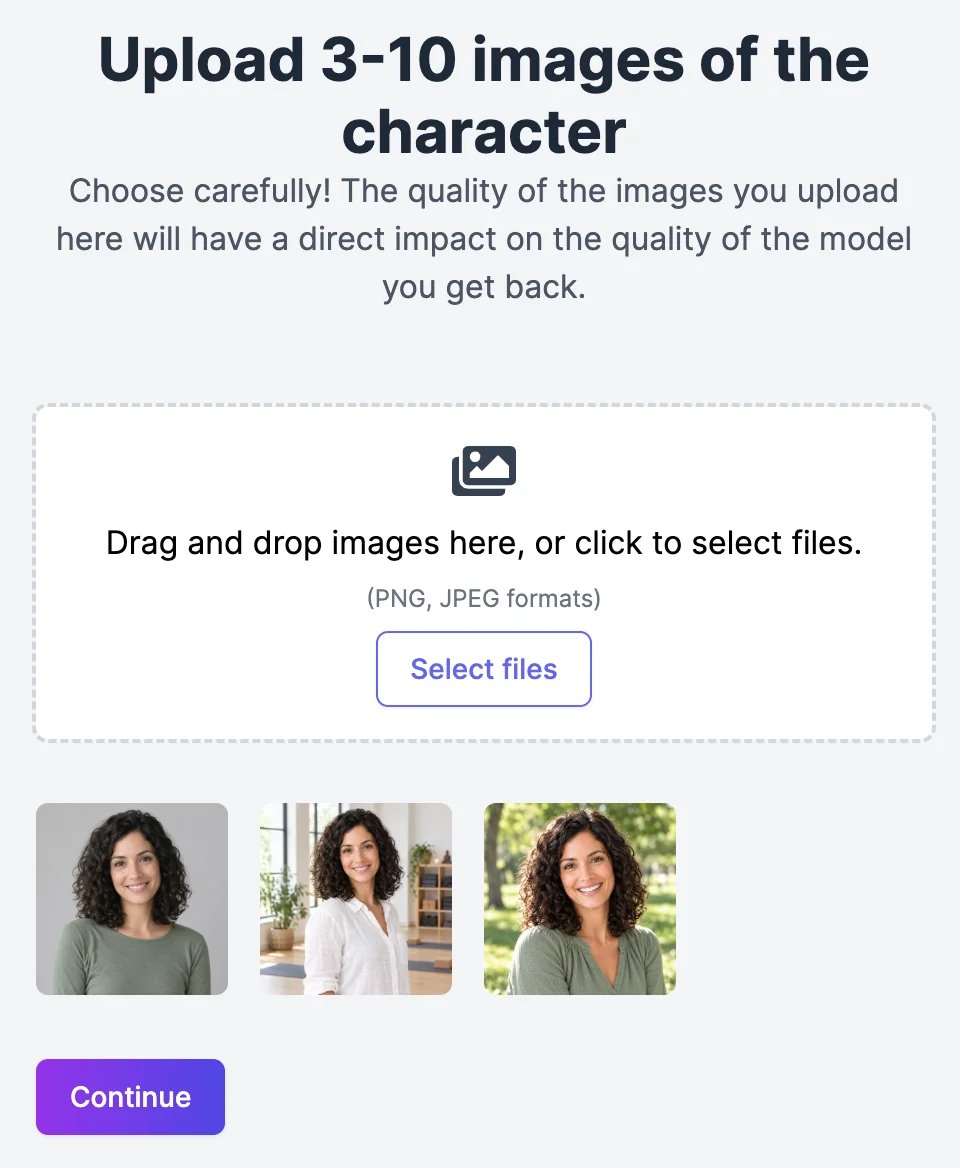 Click **Continue**, then enter a **Name** and choose the **Gender**, and click **Continue**. The model is ready straight away.
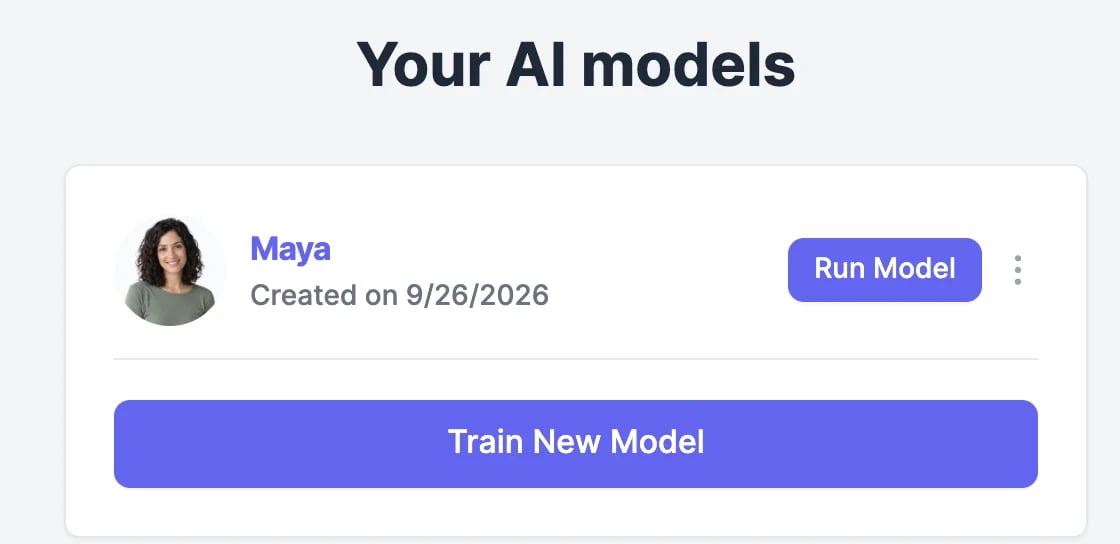
 Next you can choose [photo packs](#photo-packs). To create your own scenes instead, go back to **AI Photo Studio** and click **Run Model**.
## Create photos from a prompt
Next you can choose [photo packs](#photo-packs). To create your own scenes instead, go back to **AI Photo Studio** and click **Run Model**.
## Create photos from a prompt
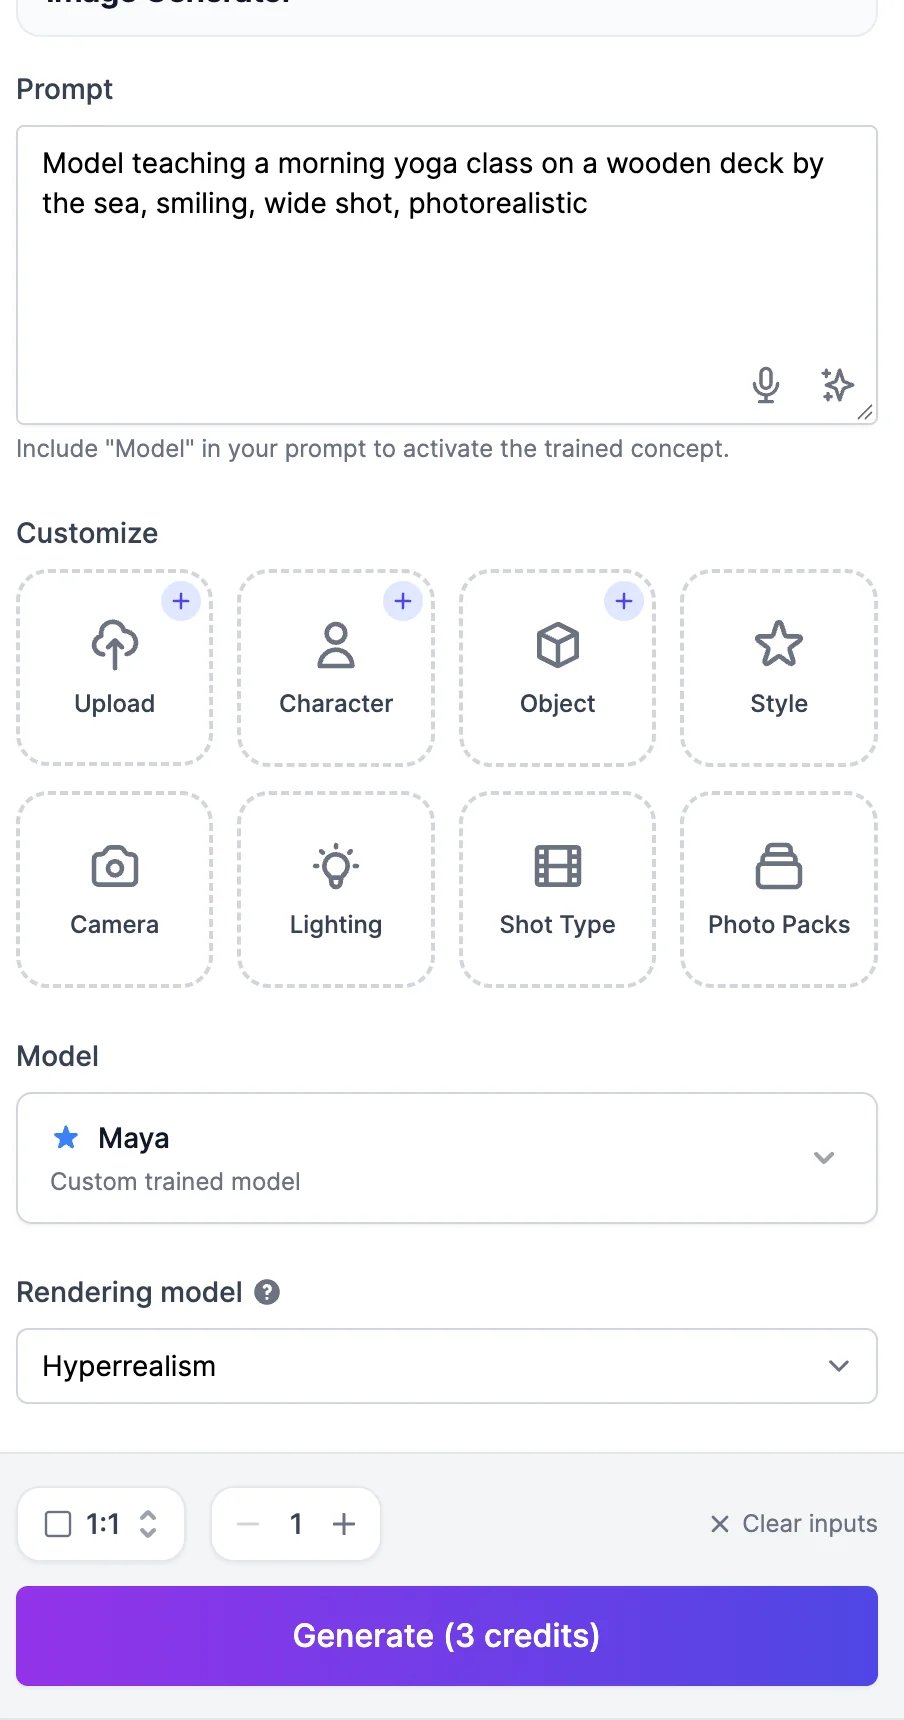
 Click **Run Model**. AI Images opens with your model selected under **Model**.
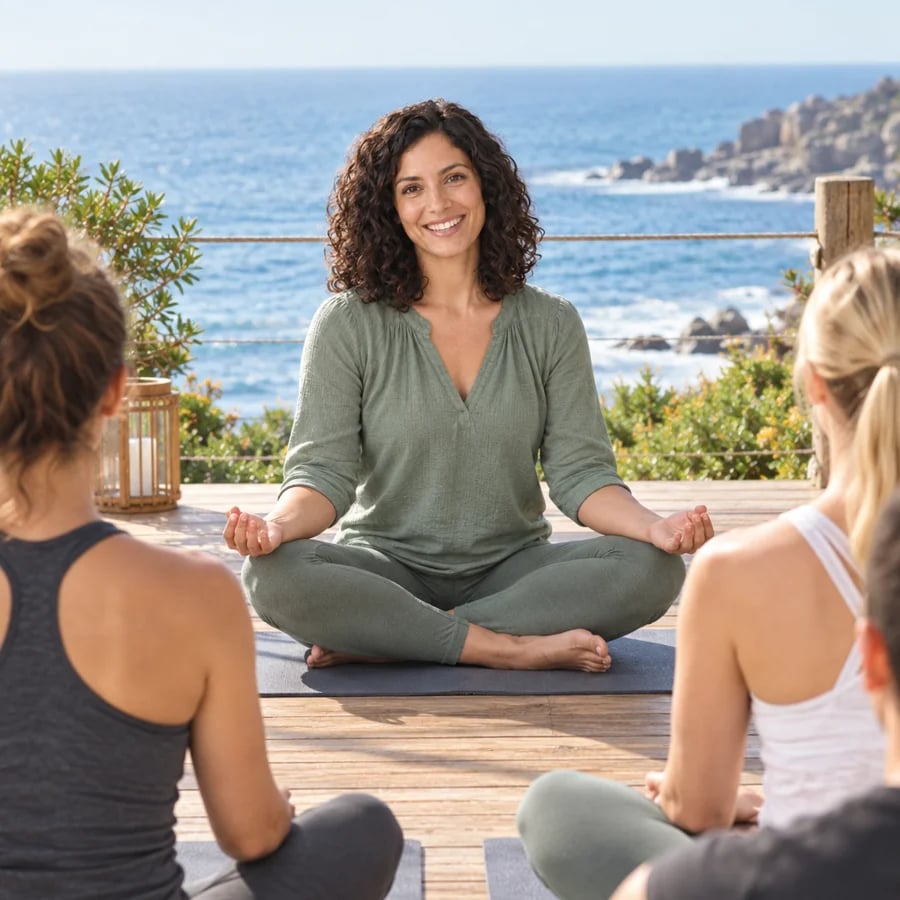
Write the prompt with the word **Model** where the person should be, for example: "Model teaching a morning yoga class on a wooden deck by the sea, smiling, wide shot, photorealistic".
**Rendering model** decides which image model draws the photo. **Hyperrealism** gives the most lifelike results.
Click **Run Model**. AI Images opens with your model selected under **Model**.
Write the prompt with the word **Model** where the person should be, for example: "Model teaching a morning yoga class on a wooden deck by the sea, smiling, wide shot, photorealistic".
**Rendering model** decides which image model draws the photo. **Hyperrealism** gives the most lifelike results.
 The photos appear with your other images a few seconds later.
 | Rendering model | Credits per image |
| -------------------------- | ----------------- |
| **Hyperrealism** (default) | 3 |
| **Nano Banana 2** | 4 |
| **Nano Banana Pro** | 7 |
| **Nano Banana 2 Lite** | 2 |
| **Seedream 5 Pro** | 8 |
| **Seedream 5 Lite** | 2 |
| **Legacy** | 2 |
Everything else in AI Images works as usual: aspect ratio, number of images, styles, and editing the results. See [Generate images](/docs/ai-images/generate).
## Photo packs
Photo packs are ready-made photo shoots: pick a pack, such as Halloween, fitness, or business portraits, and get a whole set of photos of your person in that theme, without writing prompts. Search the packs, or filter them by **Category** and **Gender**.
| Rendering model | Credits per image |
| -------------------------- | ----------------- |
| **Hyperrealism** (default) | 3 |
| **Nano Banana 2** | 4 |
| **Nano Banana Pro** | 7 |
| **Nano Banana 2 Lite** | 2 |
| **Seedream 5 Pro** | 8 |
| **Seedream 5 Lite** | 2 |
| **Legacy** | 2 |
Everything else in AI Images works as usual: aspect ratio, number of images, styles, and editing the results. See [Generate images](/docs/ai-images/generate).
## Photo packs
Photo packs are ready-made photo shoots: pick a pack, such as Halloween, fitness, or business portraits, and get a whole set of photos of your person in that theme, without writing prompts. Search the packs, or filter them by **Category** and **Gender**.
 Each pack says how many photos it makes, about 30 to 100. Select one or more packs and click **Generate Photos**. The photos appear in AI Images.
Photo packs use 3 image & video credits per photo, so a 32-photo pack uses 96 credits. The bar at the bottom shows how many packs you've selected and the credits you have left.
## Manage your models
**AI Photo Studio** lists your models, including [headshot](/docs/ai-images/headshots) orders. To delete one, click the ⋯ menu next to **Run Model**, then **Delete**.
Order a set of professional headshots.
All the options in AI Images.
Each pack says how many photos it makes, about 30 to 100. Select one or more packs and click **Generate Photos**. The photos appear in AI Images.
Photo packs use 3 image & video credits per photo, so a 32-photo pack uses 96 credits. The bar at the bottom shows how many packs you've selected and the credits you have left.
## Manage your models
**AI Photo Studio** lists your models, including [headshot](/docs/ai-images/headshots) orders. To delete one, click the ⋯ menu next to **Run Model**, then **Delete**.
Order a set of professional headshots.
All the options in AI Images.