> ## Documentation Index
> Fetch the complete documentation index at: https://easy-peasy.ai/docs/llms.txt
> Use this file to discover all available pages before exploring further.
# Motion Control
> Copy the movement, gestures, and timing from a reference video onto a character in a photo.
Motion Control takes the movement from one video, such as a dance, a gesture, or a walk, and applies it to the character in an image. The character moves exactly like the person in your reference video.
Motion Control is available on paid plans.
## Make a video
Choose **Videos** > **Motion Control**. **How it works** at the top shows an example.
* **Upload reference video**: the movement to copy. MP4 or MOV, 3 to 30 seconds, up to 100 MB.
* **Add character image**: the character to animate. JPEG or PNG, at least 512 × 512 pixels, up to 10 MB.
For the best results, match the framing: a full-body video with a full-body image, or half-body with half-body.
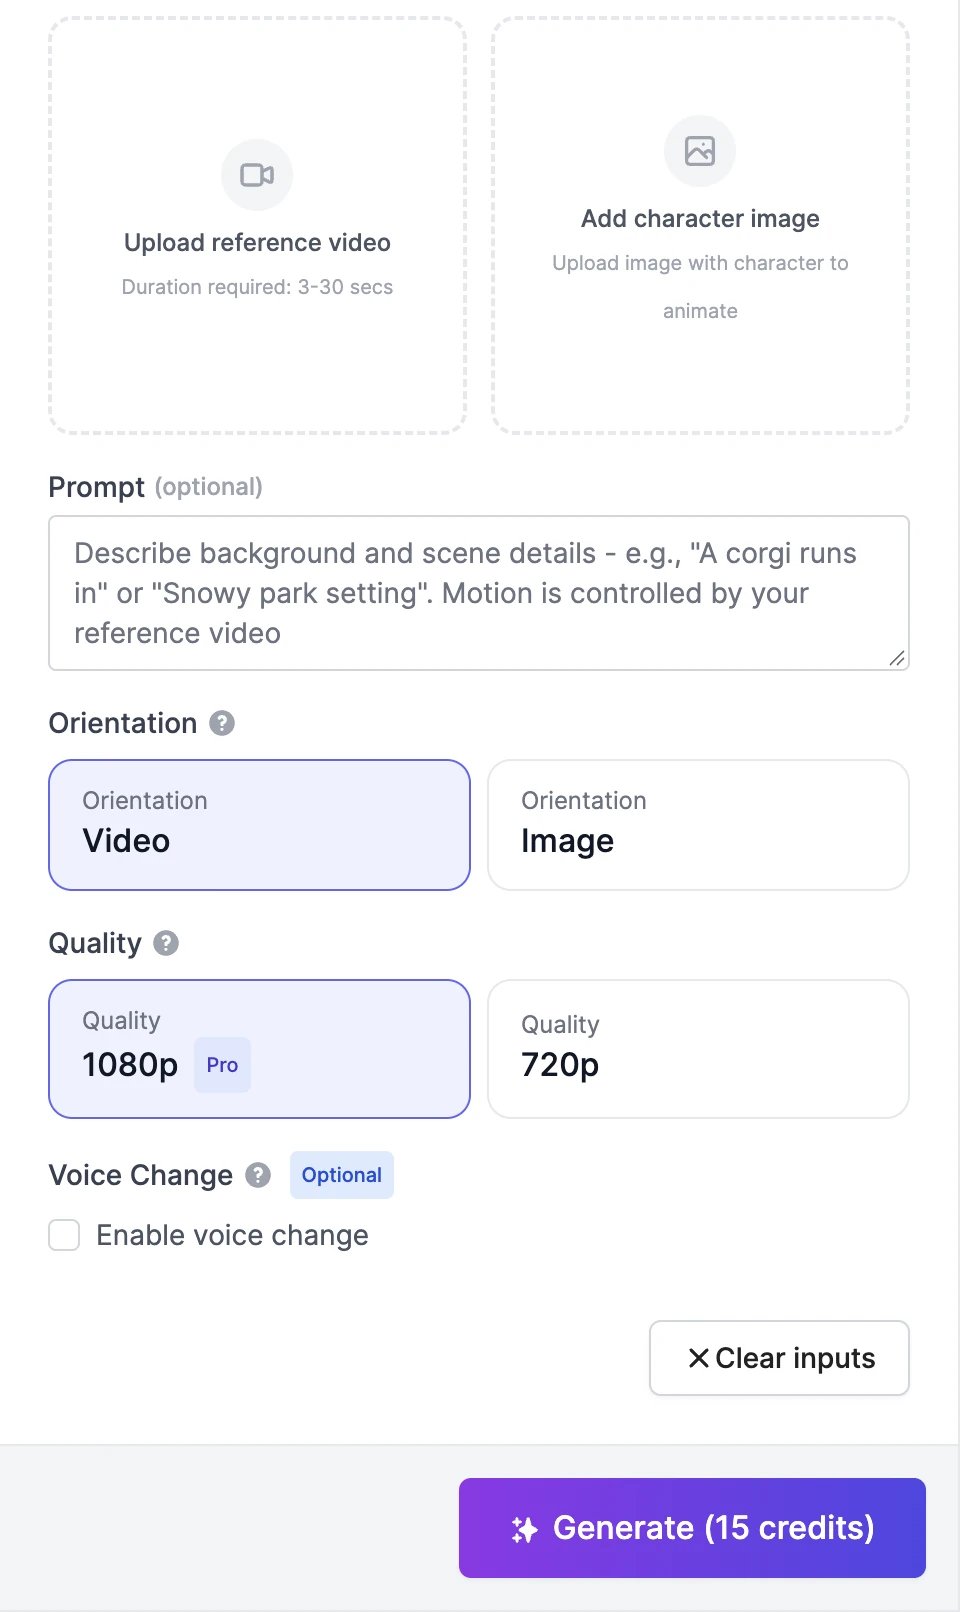 The movement comes from the video, so use **Prompt** for everything else: the background, the setting, extra details. For example: "A corgi runs in" or "Snowy park setting".
| Setting | Options |
| ---------------- | -------------------------------------------------------------------------------------------------------------------------------------------------------------------- |
| **Orientation** | Which way the character faces. **Video** follows the reference video. **Image** keeps the direction from your image, and lets you add camera movement in the prompt. |
| **Quality** | **1080p** (**Pro**, the default) or **720p**. |
| **Voice Change** | Turn on **Enable voice change** and pick a voice to change the voice in the finished video. |
The button shows the price. The video appears in your results in a few minutes.
## Tips
* Use steady, moderate movements. Avoid fast action and camera cuts in the reference video.
* Keep the character fully visible in both the image and the video.
## Credits
Motion Control is charged per second of the reference video, rounded up: **5 credits per second at 1080p** and **2.5 at 720p**. A 10-second reference video costs 50 credits at 1080p. Until you add a video, the button shows the price for 3 seconds.
Guide the camera and motion of a new video with a clip.
Make a character speak instead.
The movement comes from the video, so use **Prompt** for everything else: the background, the setting, extra details. For example: "A corgi runs in" or "Snowy park setting".
| Setting | Options |
| ---------------- | -------------------------------------------------------------------------------------------------------------------------------------------------------------------- |
| **Orientation** | Which way the character faces. **Video** follows the reference video. **Image** keeps the direction from your image, and lets you add camera movement in the prompt. |
| **Quality** | **1080p** (**Pro**, the default) or **720p**. |
| **Voice Change** | Turn on **Enable voice change** and pick a voice to change the voice in the finished video. |
The button shows the price. The video appears in your results in a few minutes.
## Tips
* Use steady, moderate movements. Avoid fast action and camera cuts in the reference video.
* Keep the character fully visible in both the image and the video.
## Credits
Motion Control is charged per second of the reference video, rounded up: **5 credits per second at 1080p** and **2.5 at 720p**. A 10-second reference video costs 50 credits at 1080p. Until you add a video, the button shows the price for 3 seconds.
Guide the camera and motion of a new video with a clip.
Make a character speak instead.