In the digital age, photos are no longer confined to static memories. With Easy-Peasy AI’s cutting-edge animation technology, you can now breathe life into your favorite images—whether they’re cherished family portraits, historic photographs, or creative artwork. This guide will walk you through the simple process of transforming still images into captivating animated videos that preserve the authenticity of the original while adding subtle, natural movements.
What You’ll Learn
- How to access Easy-Peasy AI’s image animation tools
- Step-by-step instructions for uploading and animating your photos
- Tips for writing effective animation prompts
- Understanding different AI models and their strengths
- How to download and share your animated creations
Getting Started with Easy-Peasy AI
Creating Your Account
Before you can start animating images, you’ll need an Easy-Peasy AI account. The process is straightforward:
- Visit easy-peasy.ai and click the “Sign Up” button
- Enter your email address and create a secure password
- Verify your email if required
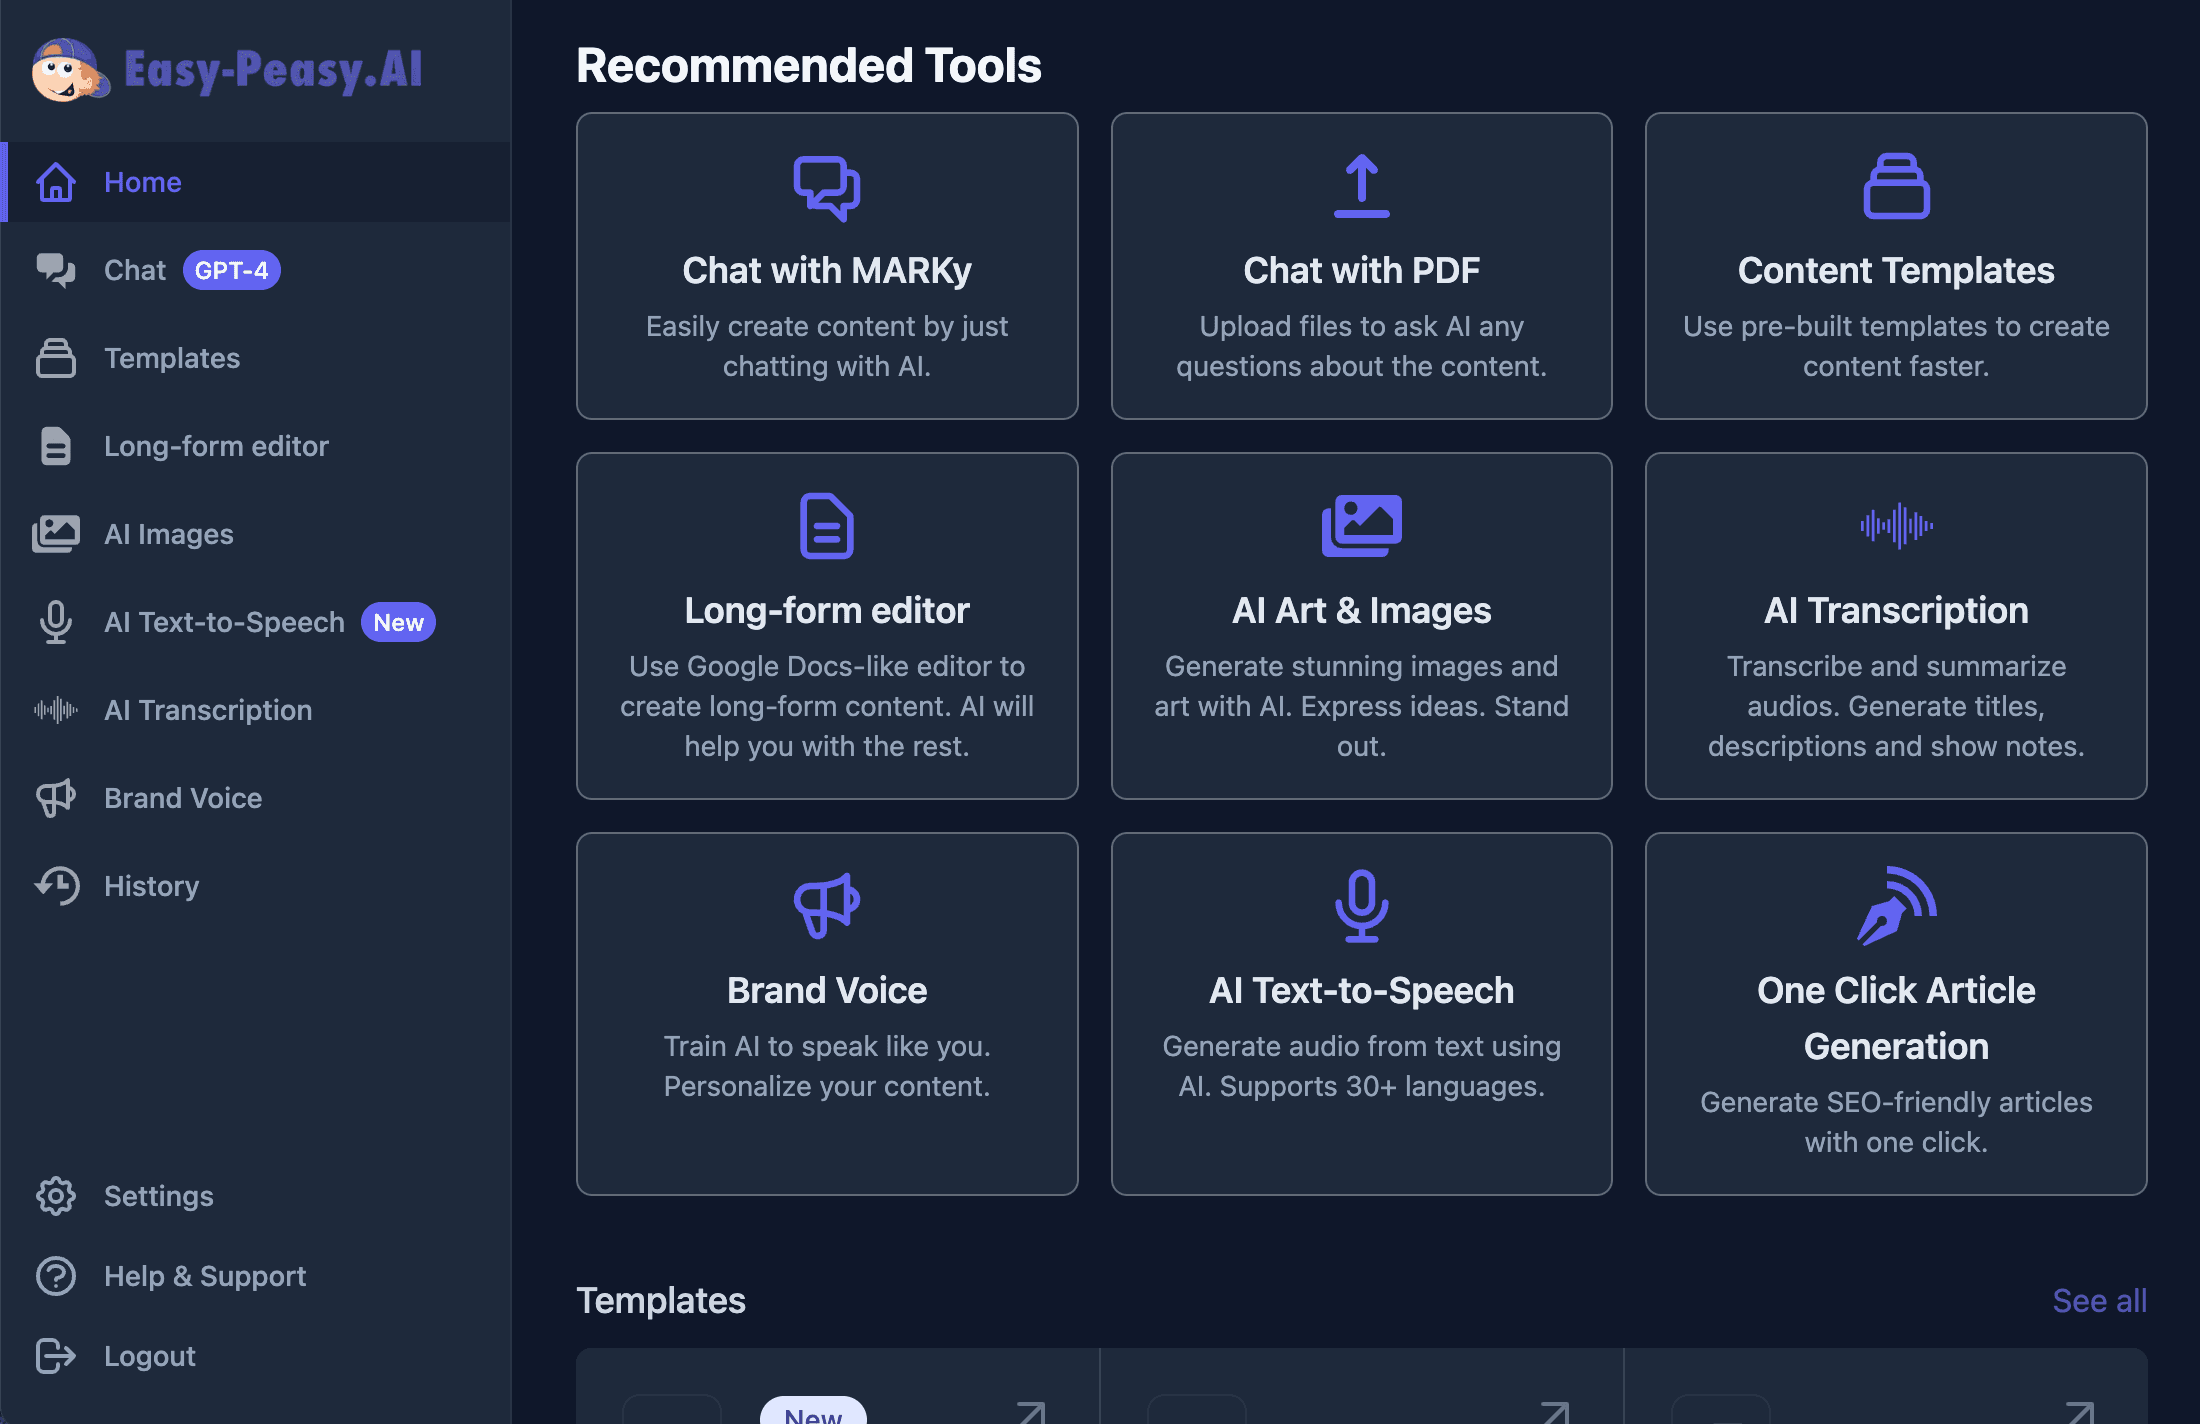
- Access your new dashboard with over 300 AI tools at your fingertips
Finding the Animation Tool
Once logged in, navigate to the AI Video Generator section:
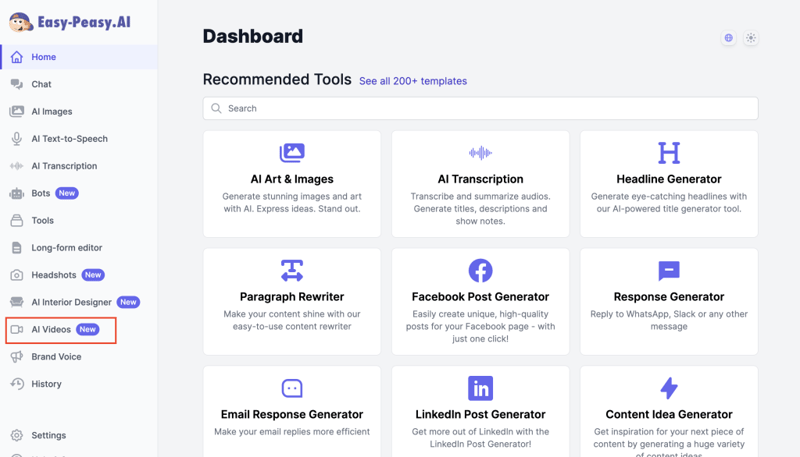
- From your dashboard, look for “AI Videos” in the AI tools section
- Alternatively, use the search bar to find the tool quickly
- Click on the tool to access the animation interface
The Animation Process
Step 1: Upload Your Image
Start by uploading the photo you wish to animate:
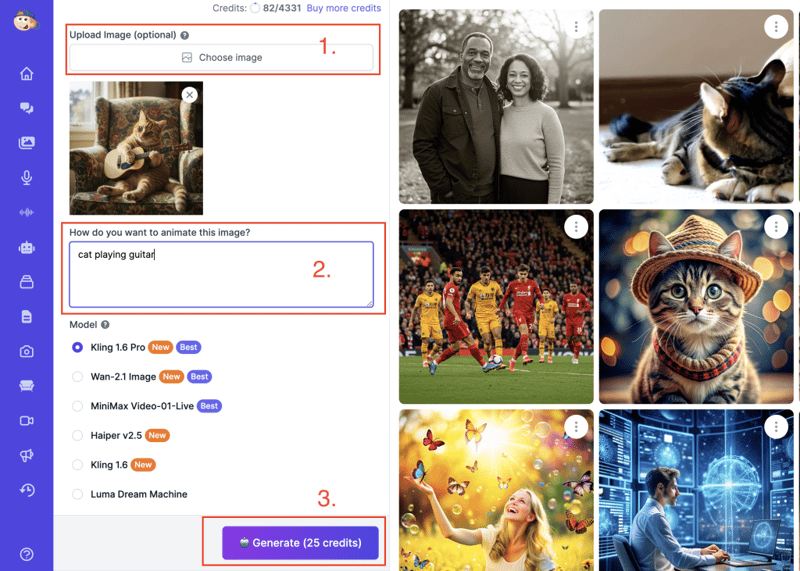
- Click the “Upload Image” button
- Select a high-quality image from your device
- Supported formats include JPG, PNG, and WEBP
- For best results, choose images with clear subjects and good lighting
Step 2: Craft Your Animation Prompt
The prompt is where you tell the AI how to animate your image:
- Be specific about the movements and expressions you want
- Example: “The woman gently smiles and blinks, with subtle head movement and hair lightly blowing in the breeze”
- Include details about emotions, environmental factors, and specific movements
- Keep expectations realistic—the AI works within the constraints of the original image
Step 3: Select an AI Model
Easy-Peasy AI offers multiple animation models:
- Kling 1.6 Pro: Excels at natural human movements and facial expressions
- Wan-2.1: Offers different interpretation styles and movement patterns
- Minimax Models: Additional options with varying specialties
- Consider trying multiple models to see which best suits your specific image
Step 4: Generate Your Animation
Now it’s time to bring your image to life:
- Click the “Generate” button to start the process
- The animation typically takes 2-5 minutes to complete
- Behind the scenes, the AI analyzes your image, identifies animatable elements, and applies natural movement patterns based on your prompt
Step 5: View and Compare Results
Once processing is complete:
- Play your animation to see the results
- Notice how the AI has interpreted your prompt
- If you’ve tried multiple models, compare the differences in style and movement
- Consider which version best captures your vision
Step 6: Download and Share
When you’re satisfied with your animation:
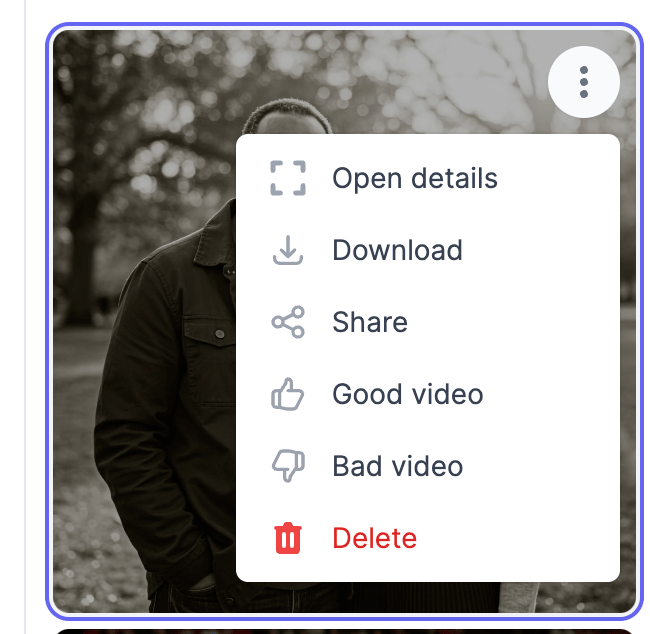
- Click the download button to save the video to your device
- Use the “Share” button to get a direct URL for sharing
- Your animated creation is now ready to be shared on social media, included in presentations, or sent to friends and family
Tips for Optimal Results
Choosing the Right Images
- Portraits: Clear, well-lit faces work best for facial animations
- Landscapes: Images with distinct elements like water, clouds, or trees animate well
- Quality matters: Higher resolution images generally produce better animations
Writing Effective Prompts
- Be specific: “The leaves rustling gently in the breeze, water rippling” is better than “make it move”
- Focus on natural movements: Describe subtle, realistic actions
- Avoid contradictions: Don’t ask for elements that aren’t in the original image
- Experiment: Try different prompt variations to achieve your desired effect
Creative Use Cases
- Family Photos: Bring ancestors and childhood memories to life
- Wedding Photos: Add subtle movement to capture the emotion of the day
- Historical Images: Animate historical figures or scenes
- Artwork: Give paintings and illustrations dynamic qualities
- Marketing: Create engaging content for social media and advertisements
- Education: Make historical or educational content more engaging
Conclusion
Animating photos with Easy-Peasy AI opens up a world of possibilities for preserving and enhancing your cherished memories. With just a few clicks, you can transform static images into living moments that capture the essence and emotion of the original in a whole new way.
Ready to try it yourself? Visit Easy-Peasy AI today and start bringing your photos to life!