Welcome to this tutorial on using the Easy-Peasy.AI platform to create high-quality blog posts effortlessly. By following this guide, you’ll become adept at navigating the blog post workflow and producing comprehensive content.
Let’s dive right in!
Step-by-Step Tutorial
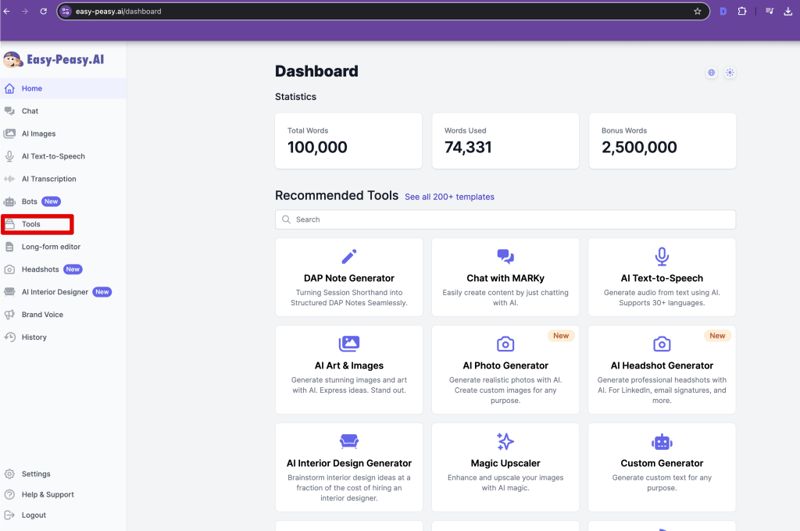
1. Navigate to Tools
- From the dashboard, press “Tools.”
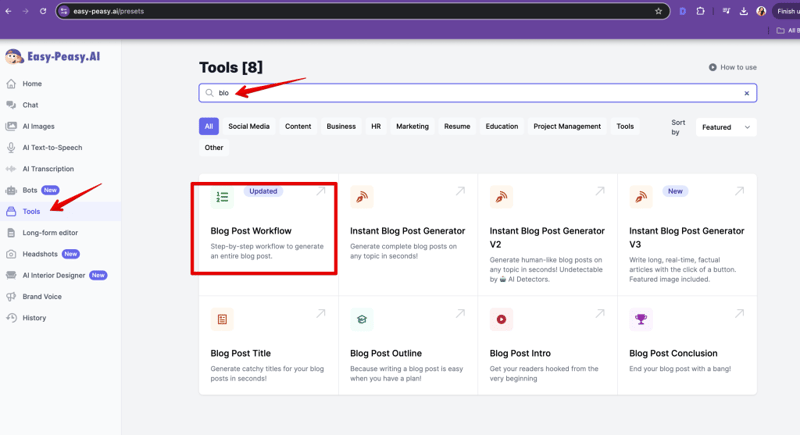
2. Select the Blog Post Workflow
- Find and select the “Blog Post Workflow” tool.
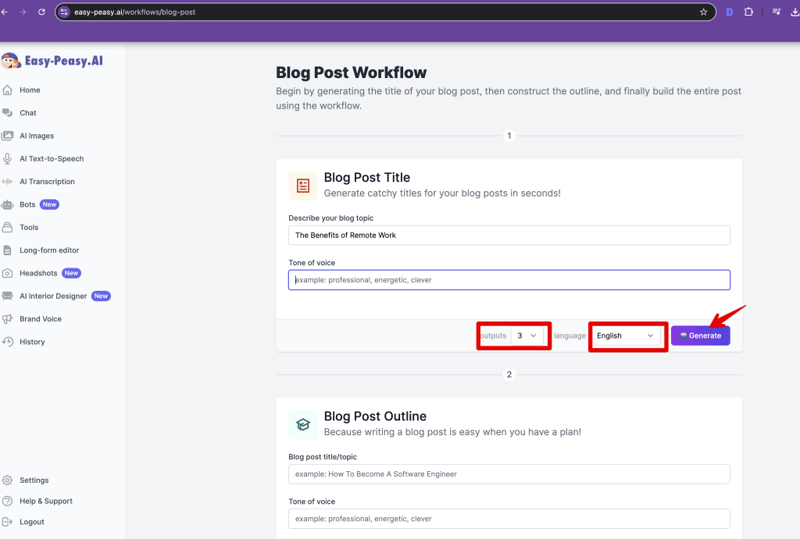
3. Enter Your Topic
- Enter your topic in the provided field. For example, “The Benefits of Remote Work.”
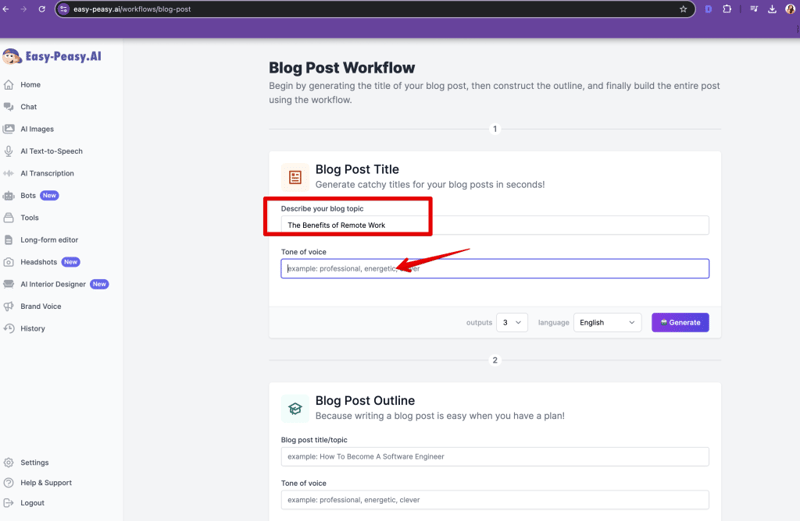
4. Choose Language and Output Options
- Set the language to English and choose to generate two outputs.
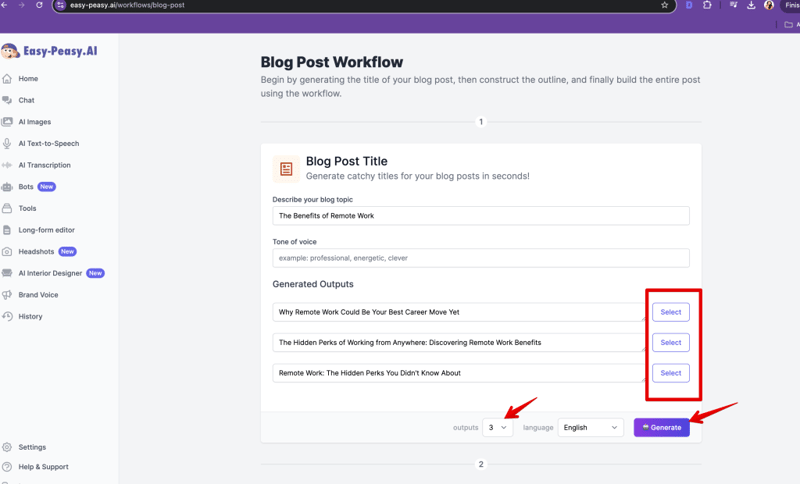
5. Select a Suggested Title
- Review the system’s title suggestions and select your preferred option.
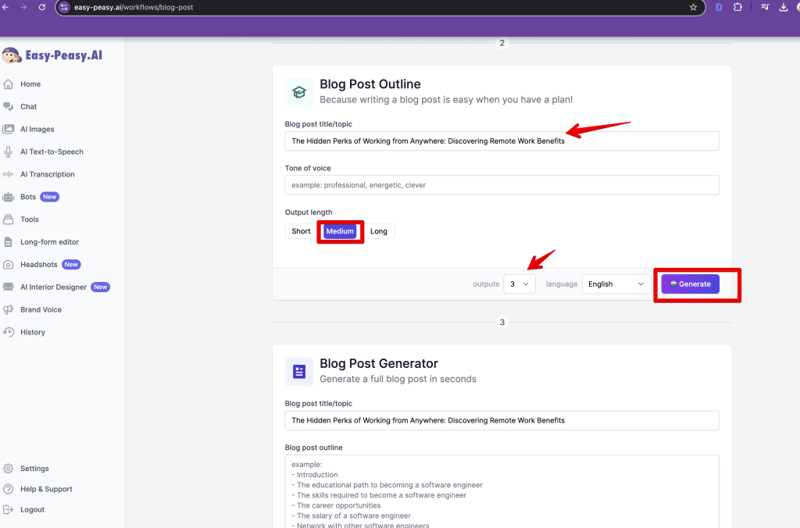
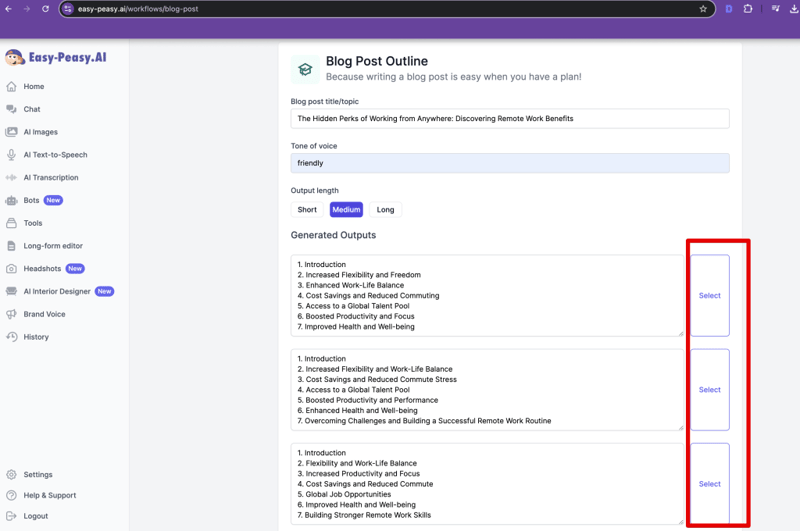
6.Outline Length and Generation
- Choose the length of the outlines (e.g., Medium) and click “Generate.”
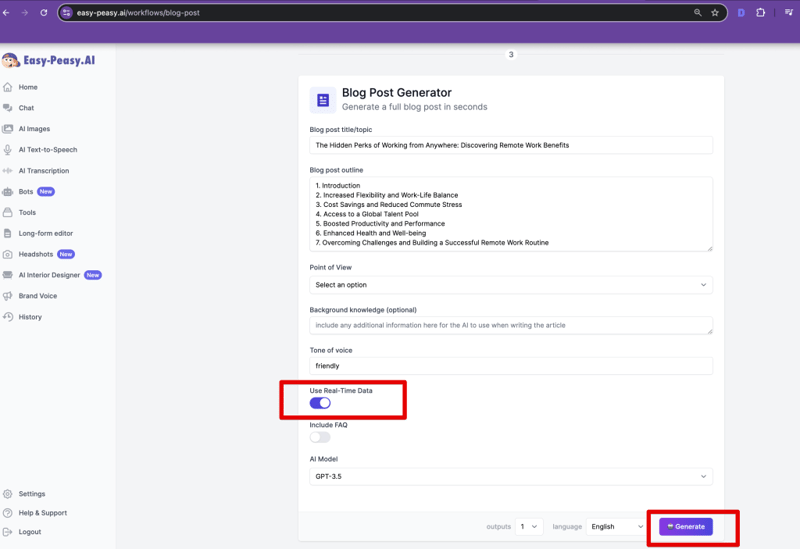
7. Select Point of View
- Choose the point of view. For example, such as first person (plural).
- Toggle the option to include FAQs if desired.

8. Generate and Review Your Post
Click “Generate” and wait for your blog post to be ready. Toggle “Real Data” if additional information is needed (note longer processing time).
Conclusion
With these easy steps, you can create a comprehensive blog post using Easy-Peasy.AI’s blog post workflow. Customize your content with optional images and FAQs for a more engaging read.
We hope you found this tutorial helpful. Don’t forget to like and subscribe to our channel for more updates. See you next time!
Happy creating!