If you’re an interior designer using SketchUp, you know the pain: you’ve spent hours building a beautiful 3D model, but turning it into a photorealistic render takes even longer. Traditional rendering software is expensive, slow, and has a steep learning curve. What if you could skip all that and go from SketchUp export to stunning render in seconds?
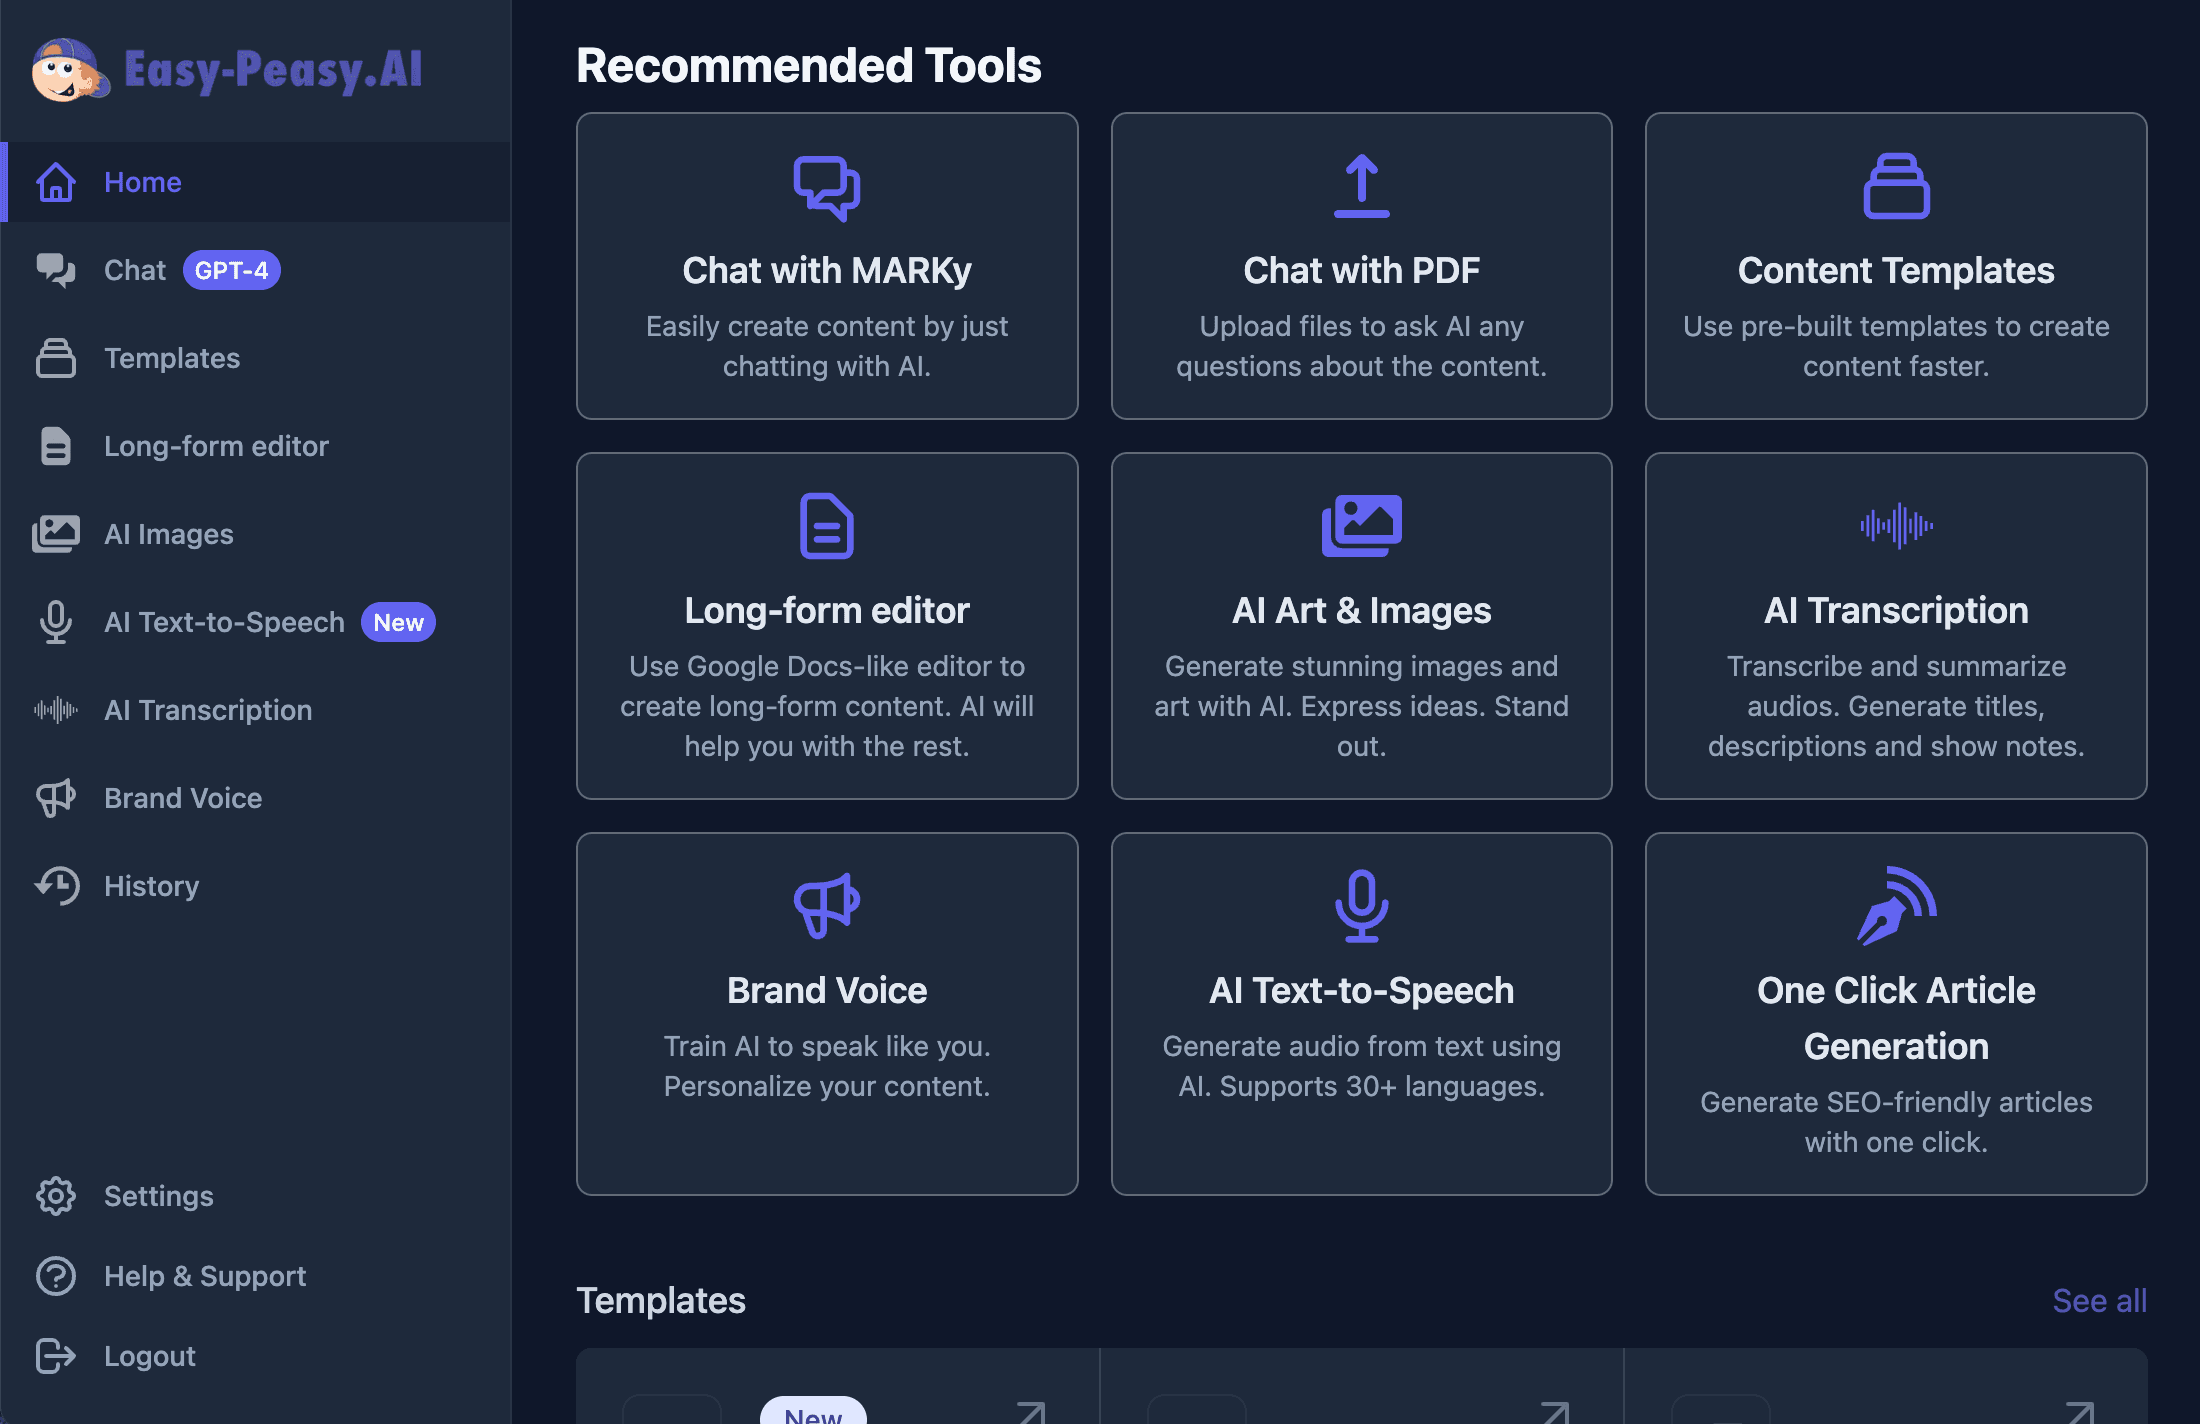
With Easy-Peasy.AI’s AI Interior Designer, you can. Just export your SketchUp 3D drawing as an image, upload it, and let AI transform it into a photorealistic visualization — no plugins, no render farms, no waiting.
What Is AI Interior Design Rendering?
AI interior design rendering uses artificial intelligence to convert images — photos, sketches, or 3D model exports — into photorealistic interior visualizations. Instead of manually setting up lighting, materials, and camera angles in traditional rendering software, the AI handles everything automatically.
For SketchUp users, this means you can export a screenshot or image of your 3D model and upload it directly. The AI understands the room layout, geometry, and spatial relationships from your SketchUp drawing and generates a realistic render that looks like a professional photograph.
Why Interior Designers Are Switching from Traditional SketchUp Rendering
Traditional SketchUp rendering workflows involve plugins like V-Ray, Enscape, or Lumion. While powerful, they come with significant trade-offs. Here’s why interior design firms are adding AI rendering to their toolkit:
- Speed — AI renders take seconds, not hours. A V-Ray render can take 30 minutes to several hours. Easy-Peasy.AI delivers results in under 30 seconds.
- No extra software — No need to install, learn, or pay for rendering plugins. Just export an image from SketchUp and upload it.
- Client presentations — Generate multiple style variations in minutes to show clients different design directions during a single meeting.
- Early-stage concepts — Get photorealistic previews from rough 3D models before investing time in detailed modeling.
- Cost savings — Rendering plugin licenses can cost $500-$2,000+ per year. AI rendering is a fraction of that cost.
With Easy-Peasy.AI’s AI Interior Designer, you upload your SketchUp export and get a photorealistic render in seconds — no rendering knowledge required.
How to Render SketchUp Interior Designs with AI (Step-by-Step)
Here’s the complete workflow to go from a SketchUp 3D model to a photorealistic interior render.
Step 1: Export Your SketchUp Model as an Image
In SketchUp, set up the camera angle you want to render. Then go to File > Export > 2D Graphic and save it as a PNG or JPG. Make sure the image is under 10MB and no larger than 7000px on either side.
Tip: Choose the camera angle carefully — the AI will use this exact perspective for the render. A well-composed view at eye level typically produces the best results.
Step 2: Open the AI Interior Designer
Go to the AI Interior Designer and choose your mode. For SketchUp exports, you have three powerful options:
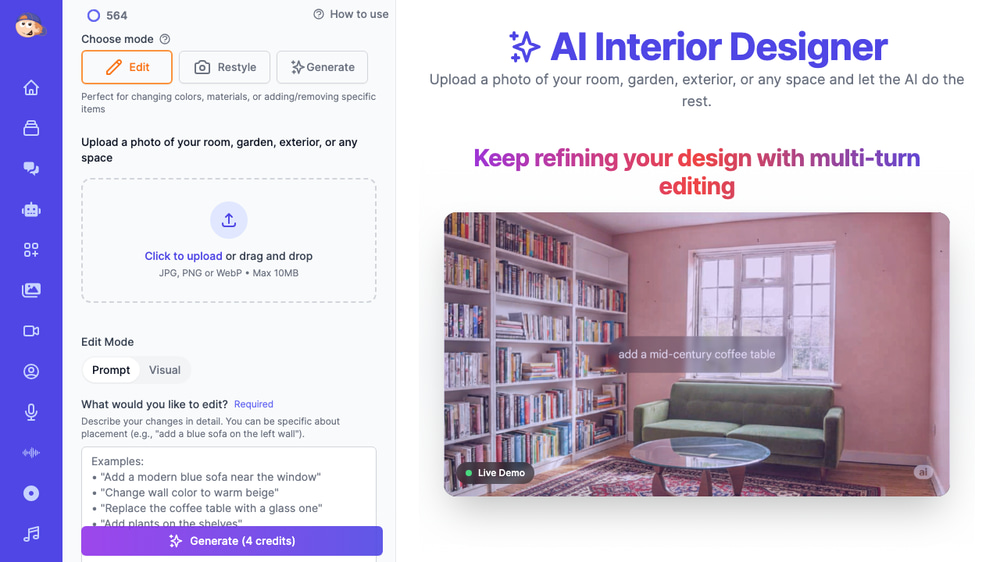
- Edit mode — Best for refining specific elements. Upload your SketchUp export and describe exactly what you want: materials, colors, furniture styles. You can use text prompts or click directly on the image to add visual markers.
- Restyle mode — Best for exploring design styles. Upload your SketchUp model and choose from themes like Modern, Scandinavian, Industrial, Bohemian, and more.
- Generate mode — Best for creating entirely new room designs from scratch based on room type and style preferences.
Step 3: Upload Your SketchUp Export
Click the upload area or drag and drop your exported SketchUp image. The tool accepts JPG, PNG, and WebP formats. You can upload up to 6 images in Edit mode — useful if you have reference photos of specific furniture or materials you want the AI to incorporate.
Step 4: Write Your Prompt
Describe what you want the AI to create. For SketchUp 3D drawings, prompts like these work well:
Transform this 3D drawing into a photorealistic interior with warm lighting and modern furnitureMake this look like a professional interior photograph with natural sunlightAdd realistic materials: hardwood floors, white marble countertops, brass fixturesConvert to a Scandinavian style interior with light wood and neutral tones
During a recent demo, an interior design firm simply used the prompt I want 3D drawing after uploading their SketchUp export and got impressive results. The AI is smart enough to understand the context from the image itself.
Step 5: Choose Output Settings and Generate
Select your preferred aspect ratio (Auto matches your input image) and resolution (2K standard, or 4K for higher quality on paid plans). Then click Generate. The AI will process your SketchUp export and produce a photorealistic render in about 15-30 seconds.
Each generation costs 4 credits (or 8 for 4K resolution).
Using Restyle Mode for Quick Style Explorations
One of the most powerful features for SketchUp users is Restyle mode. Instead of writing prompts, you select from pre-built interior design themes and the AI transforms your 3D model into that style.
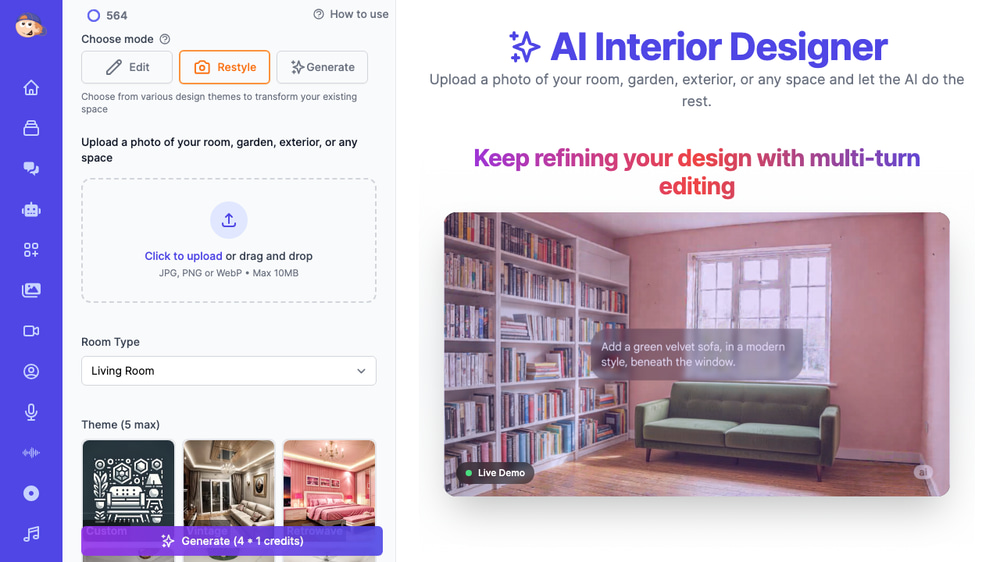
This is perfect for client meetings. Upload your SketchUp model once, then quickly generate renders in Modern, Traditional, Minimalist, Art Deco, or any other style. Show your client five different directions in the time it would take to set up one traditional render.
Generate Mode: Create New Designs from Scratch
Don’t have a SketchUp model yet? Generate mode lets you create entirely new interior designs based on room type and style preferences — no image upload needed.
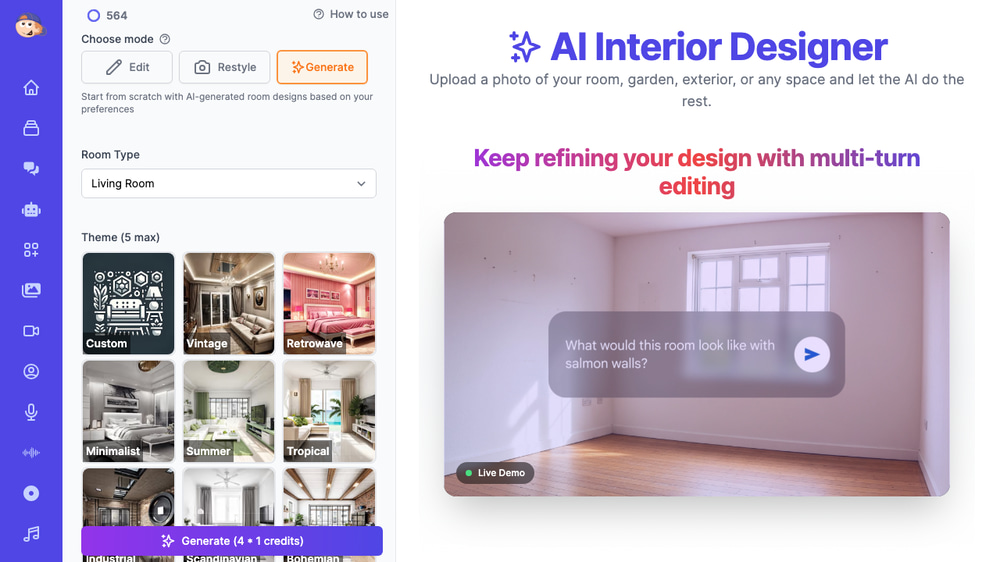
Select from 30+ room types (living room, kitchen, bedroom, office, restaurant, hotel lobby, and more), pick your themes, add an optional prompt, and generate. This is great for early-stage concepting before you even open SketchUp.
Iterative Editing: Refine Until It’s Perfect
One of the biggest advantages over traditional rendering is iterative editing. After your first AI render, you can:
- Edit the result — Use the generated render as a new starting point. Click “Add Visual Markers” to point at specific areas and describe changes.
- Compare side-by-side — Toggle between your original SketchUp export and each generated result using the thumbnail strip at the bottom.
- Stack changes — Make incremental adjustments across multiple generations. Change the sofa color in one pass, add plants in the next, adjust lighting in the third.
This iterative workflow means you can start with a rough SketchUp 3D model and progressively refine the render until it matches your vision — all without touching rendering software.
Tips for Getting the Best AI Renders from SketchUp
Use Clean Camera Angles
Set up a two-point perspective in SketchUp before exporting. Eye-level views between 4-5 feet produce the most natural-looking AI renders. Avoid extreme bird’s-eye or worm’s-eye views unless that’s specifically what you need.
Include Basic Materials in SketchUp
Even rough material assignments in SketchUp help the AI understand your intent. If you’ve applied wood textures to floors and painted walls a certain color, the AI will pick up on these cues and enhance them in the photorealistic render.
Add Reference Images in Edit Mode
In Edit mode, you can upload up to 6 images total. Use additional slots for reference photos — a specific sofa style, a pendant light, a tile sample. Mention these references in your prompt: “Use the pendant light from the second reference image above the dining table.”
Be Specific with Prompts
Instead of “make it look nice,” try “modern minimalist living room with walnut hardwood floors, off-white linen sofa, brass pendant lights, and floor-to-ceiling windows with sheer curtains.” The more specific your prompt, the closer the result matches your design intent.
Try Multiple Styles Quickly
Use Restyle mode to generate 5-10 different style variations from a single SketchUp export. It costs 4 credits per generation, and you can present all variations to your client in minutes.
Beyond the Render: Video and Upscaling
Once you have a render you love, Easy-Peasy.AI offers additional features to take it further:
- Video generation — Turn your static render into a short animated video with camera movement. Great for social media or client presentations. You can even convert 2D floor plans into 3D isometric maquettes and create animated video tours.
- Upscaling — Enhance the resolution of your render for print-quality output.
- Quick editing — Make small adjustments directly on the generated image without starting over.
SketchUp AI Rendering vs. Traditional Rendering
| Feature | Traditional Rendering (V-Ray, Enscape) | AI Rendering (Easy-Peasy.AI) |
|---|---|---|
| Render time | 30 min — several hours | 15-30 seconds |
| Learning curve | Steep (material setup, lighting, cameras) | None — upload and describe |
| Software cost | $500-$2,000+/year | Free tier available, paid plans from $8/mo |
| Style variations | Requires manual re-setup per style | One click per style |
| Hardware requirements | Powerful GPU recommended | Any device with a browser |
| Precision control | Exact material/lighting control | Prompt-based with visual markers |
| Best for | Final production renders | Concept visualization, client presentations, fast iterations |
Many interior designers use both: AI rendering for rapid concept exploration and client approvals, then traditional rendering for final deliverables that need pixel-perfect precision.
Frequently Asked Questions
Can I upload SketchUp files directly?
Not the native .skp format — you’ll need to export your model as an image first (PNG, JPG, or WebP). In SketchUp, use File > Export > 2D Graphic to save your current view as an image, then upload that to Easy-Peasy.AI.
What image size works best for SketchUp exports?
Export at the highest resolution your SketchUp model supports, up to 7000px on either side. Higher resolution exports give the AI more detail to work with, producing better renders. Keep file size under 10MB.
How many credits does each render cost?
Standard renders (1K or 2K resolution) cost 4 credits each. High-resolution 4K renders cost 8 credits. 4K is available on paid plans only.
Can I use the AI renders for client presentations?
Yes. The renders you generate are yours to use in presentations, proposals, and marketing materials. Check the terms of service for full details on commercial usage.
Does the AI work with wireframe views or only textured models?
Both work. The AI can transform bare wireframe/line drawings into photorealistic renders, as well as enhance already-textured SketchUp models. Wireframe views may need more descriptive prompts to guide the AI on materials and colors.
What room types are supported?
Over 30 room types including living rooms, kitchen, bathrooms, patio, meeting rooms, offices, restaurants, hotel lobbies, coffee shops, retail stores, outdoor patios, house exteriors, garages, carports, basements and more. You can also select “Other” for unique spaces.
Start Rendering Your SketchUp Designs with AI Today
Whether you’re a solo interior designer looking to speed up client presentations or a design firm wanting to explore more concepts in less time, AI rendering from SketchUp exports changes the game. No plugins to install, no render settings to configure, no hours of waiting.
Export your SketchUp model, upload it to the AI Interior Designer, describe what you want, and get a photorealistic render in seconds. Try it today and see how much faster your design workflow can be.