
Create a tool
1
Open Create Tool
Click All Tools in the sidebar, then Create Tool at the top right.
2
Describe the tool
Type what it should make in What do you want to create?, such as “yoga class description for a studio schedule”. Click + add instructions to say which fields you want and how the result should read.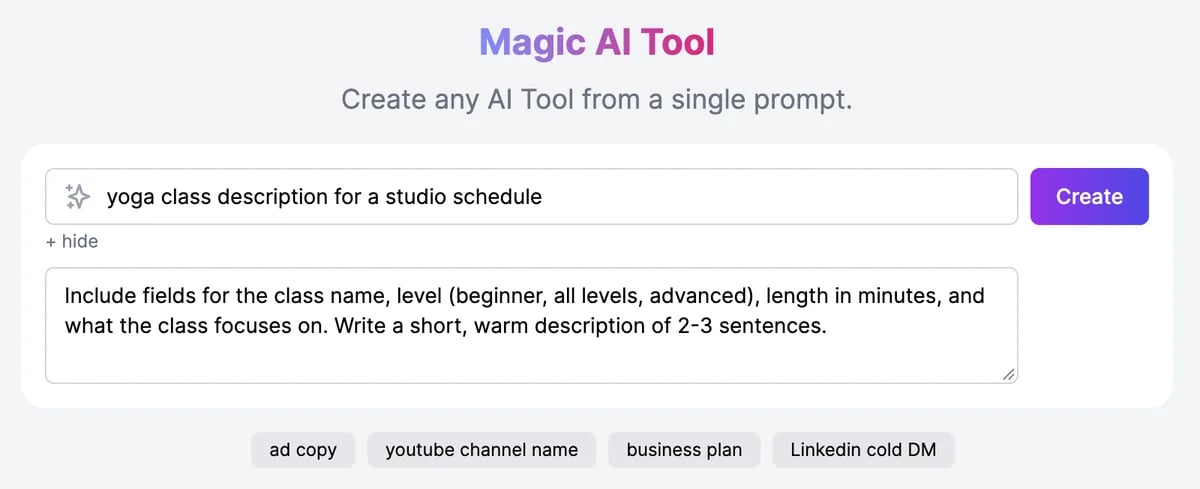
3
Click Create
The new tool opens a few seconds later, ready to try.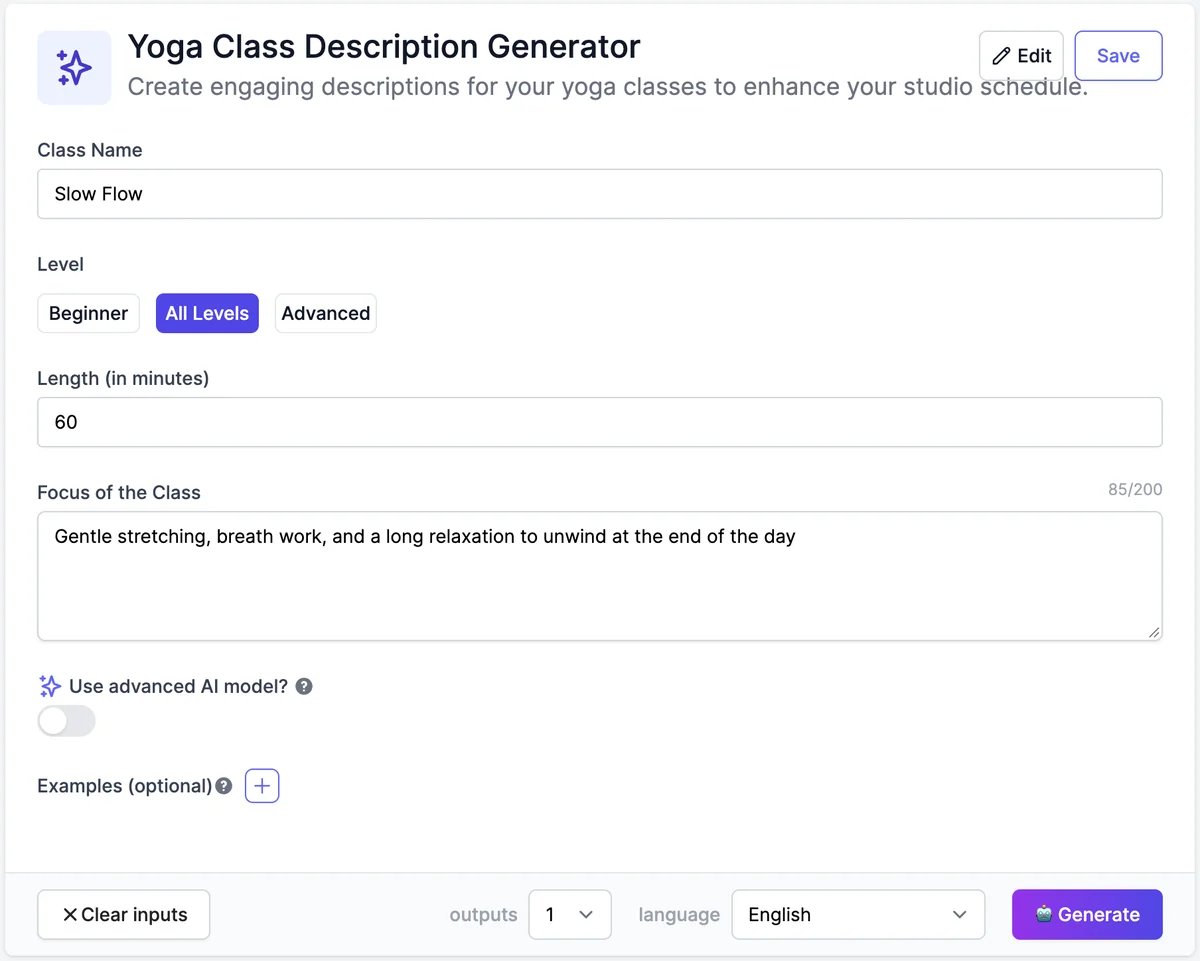
4
Try it, then click Save
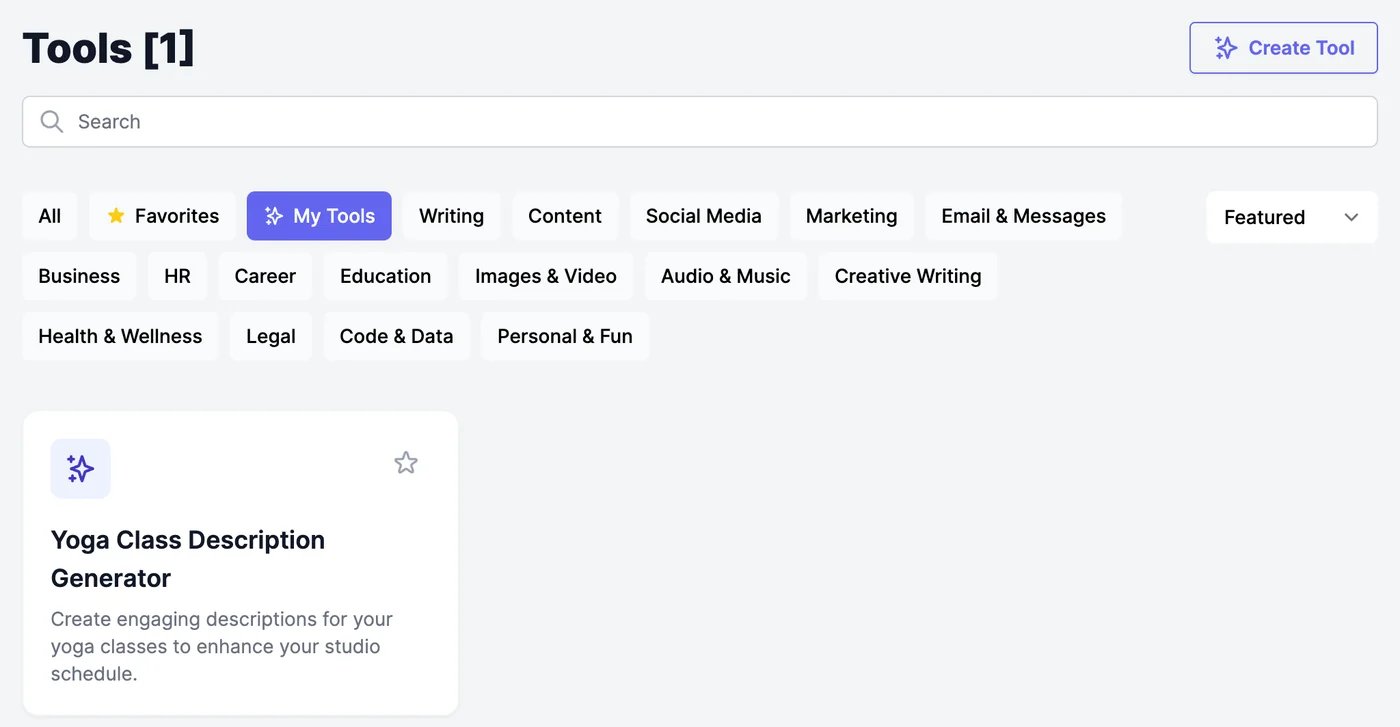
Fill in the fields and click Generate to check the results. When you’re happy with it, click Save. Saved tools appear on the Tools page under My Tools.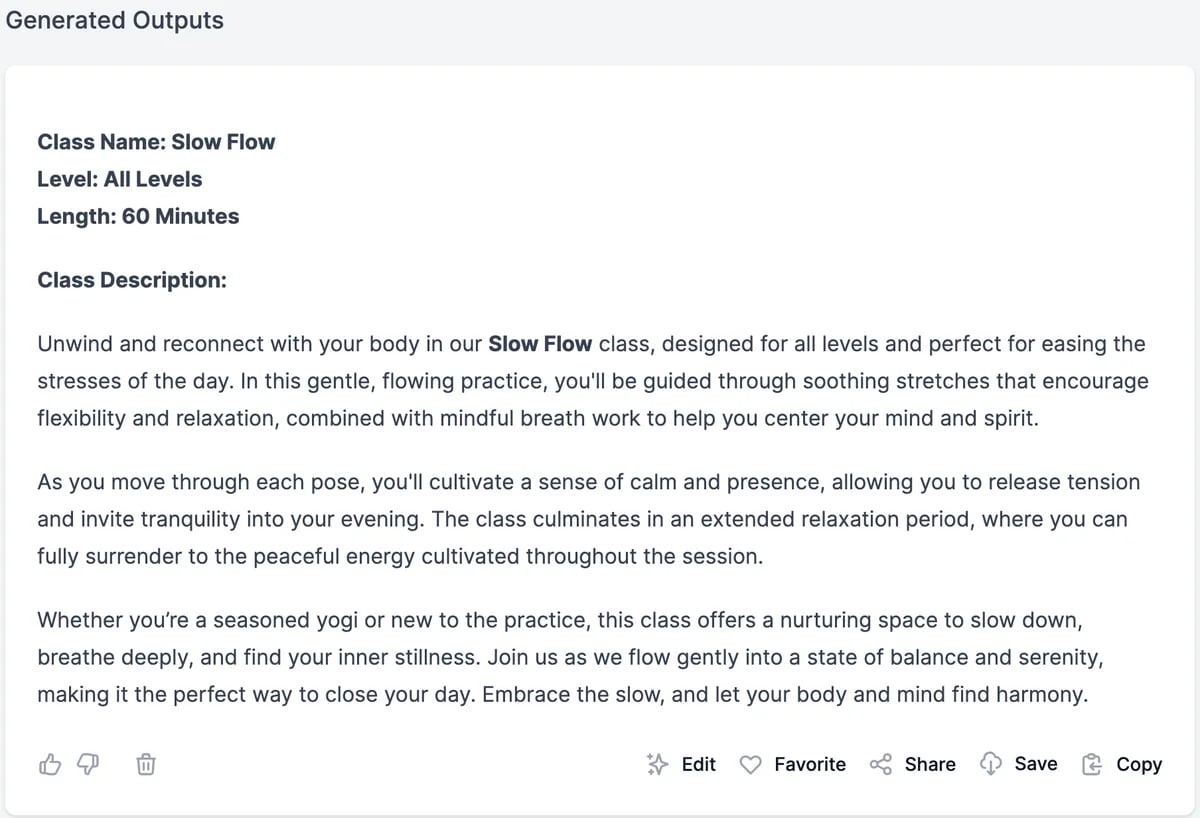
Edit a tool
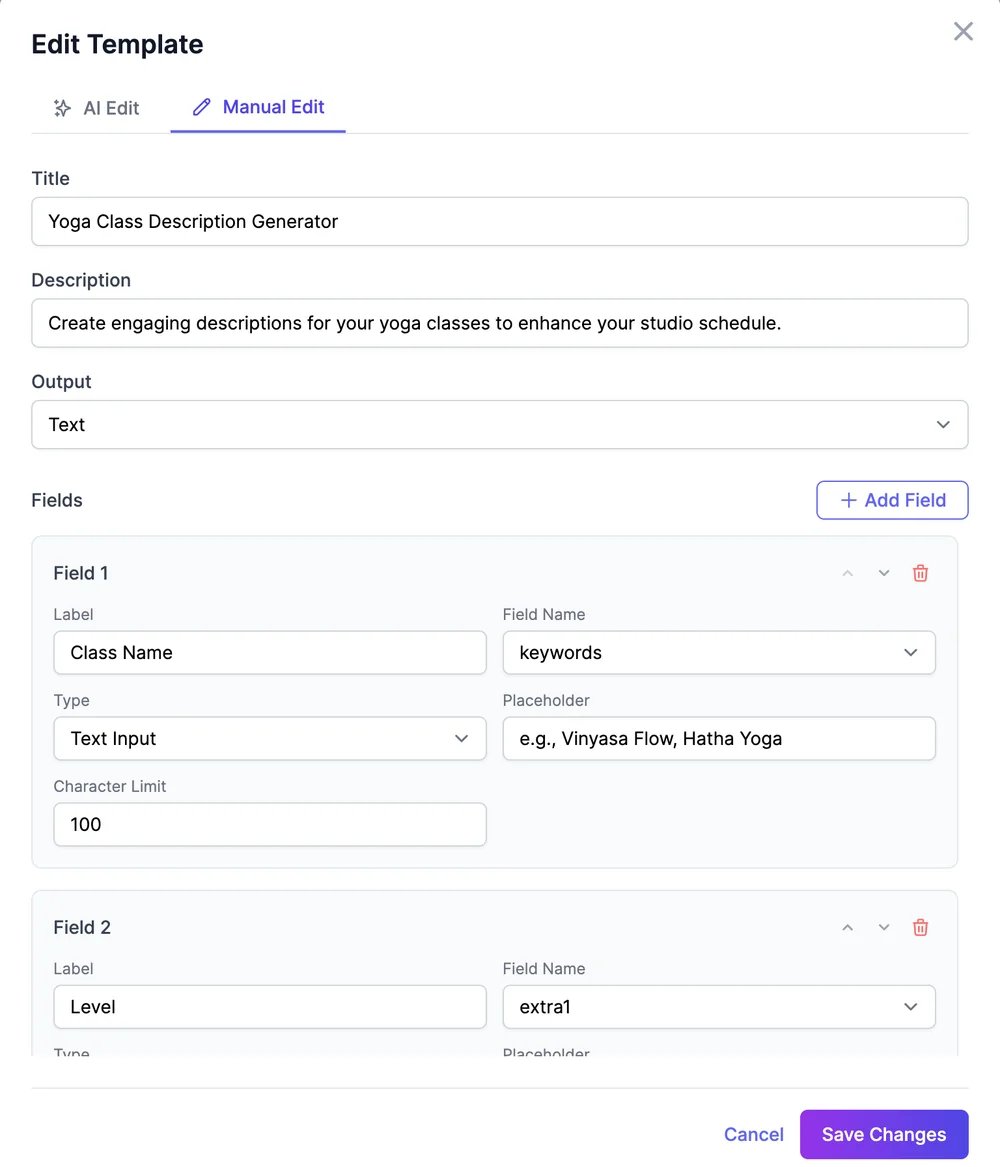
Click Edit at the top of the tool.- AI Edit
- Manual Edit
Describe the change and click Apply Changes. For example: “Remove the Class Description field. Show Level as radio buttons.”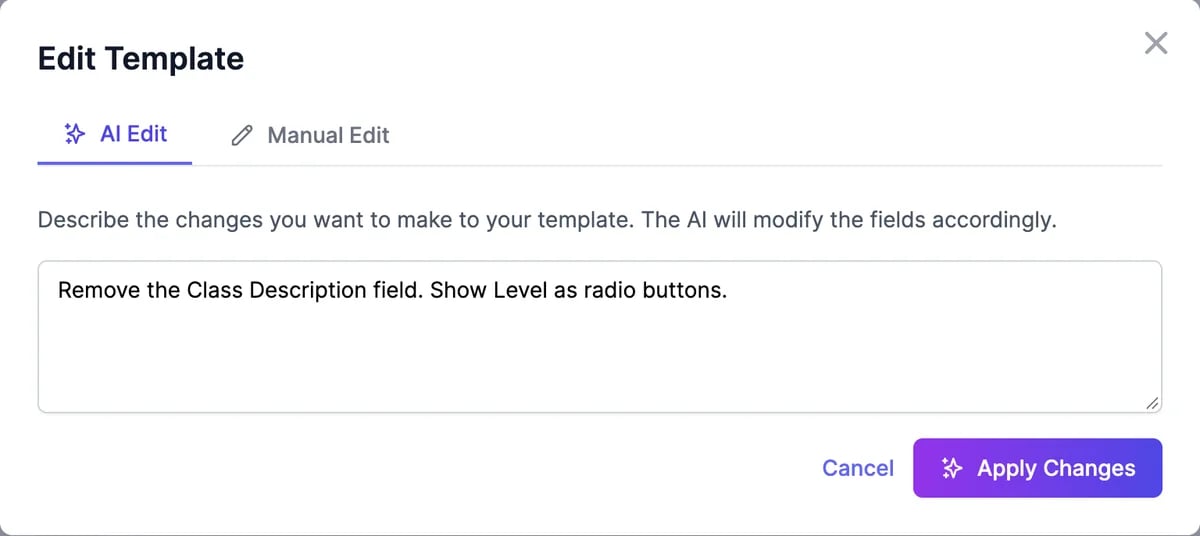
To delete a saved tool, click the trash icon at the top of it and confirm.
Use a tool
Your tools work like the built-in ones: fill in the fields, choose the number of results and the language, and click Generate. See Run a tool.- Use advanced AI model? switches text tools to a stronger model, which uses more words.
- Examples (optional): add examples of results you like, and the tool follows their format.
- Results in a language other than English are made one at a time.
Share a tool
Click Share at the top of a saved tool.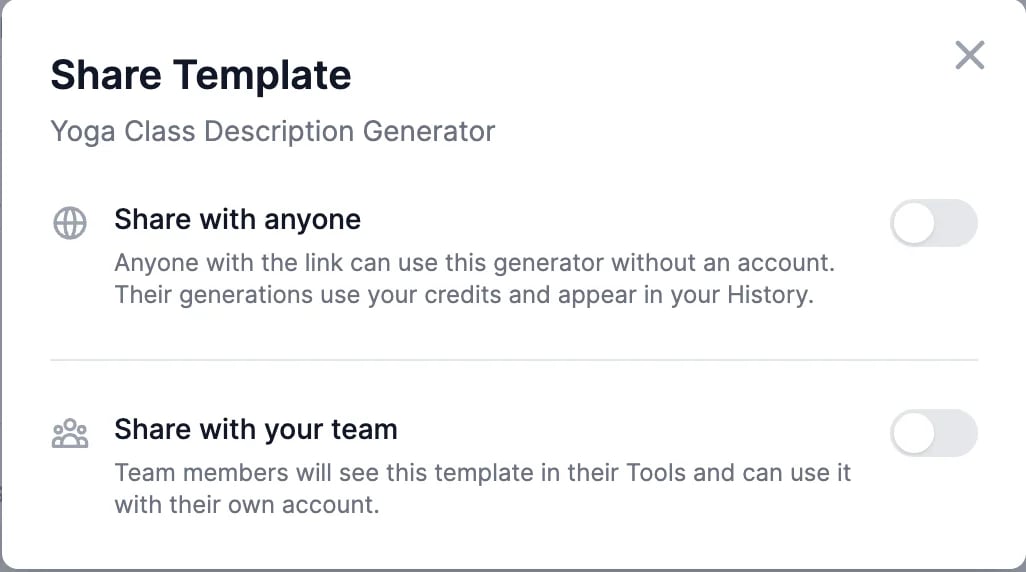
- Share with your team adds the tool to your teammates’ My Tools. They use it with their own account, and can’t edit or delete it.
- Share with anyone gives you a link to a public page where anyone can use the tool without an account.
Run a tool
Options, results, and sharing a result.
Brand Voice
Make results sound like you.