
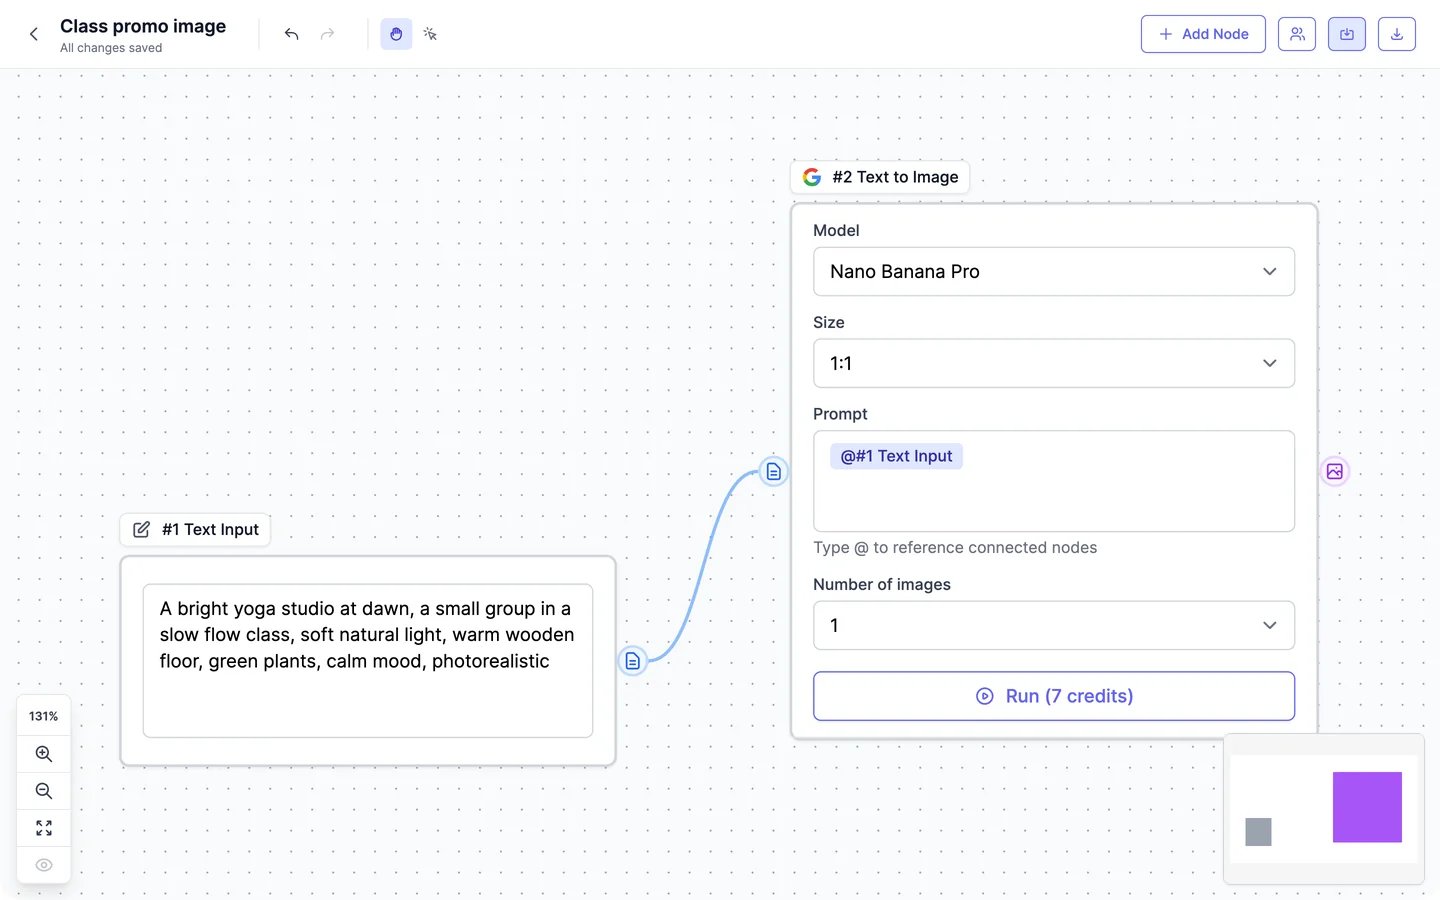
Build a workflow
1
Add your first node
Click Add Node at the top right and pick one, such as Text Input. It appears in the middle of the canvas.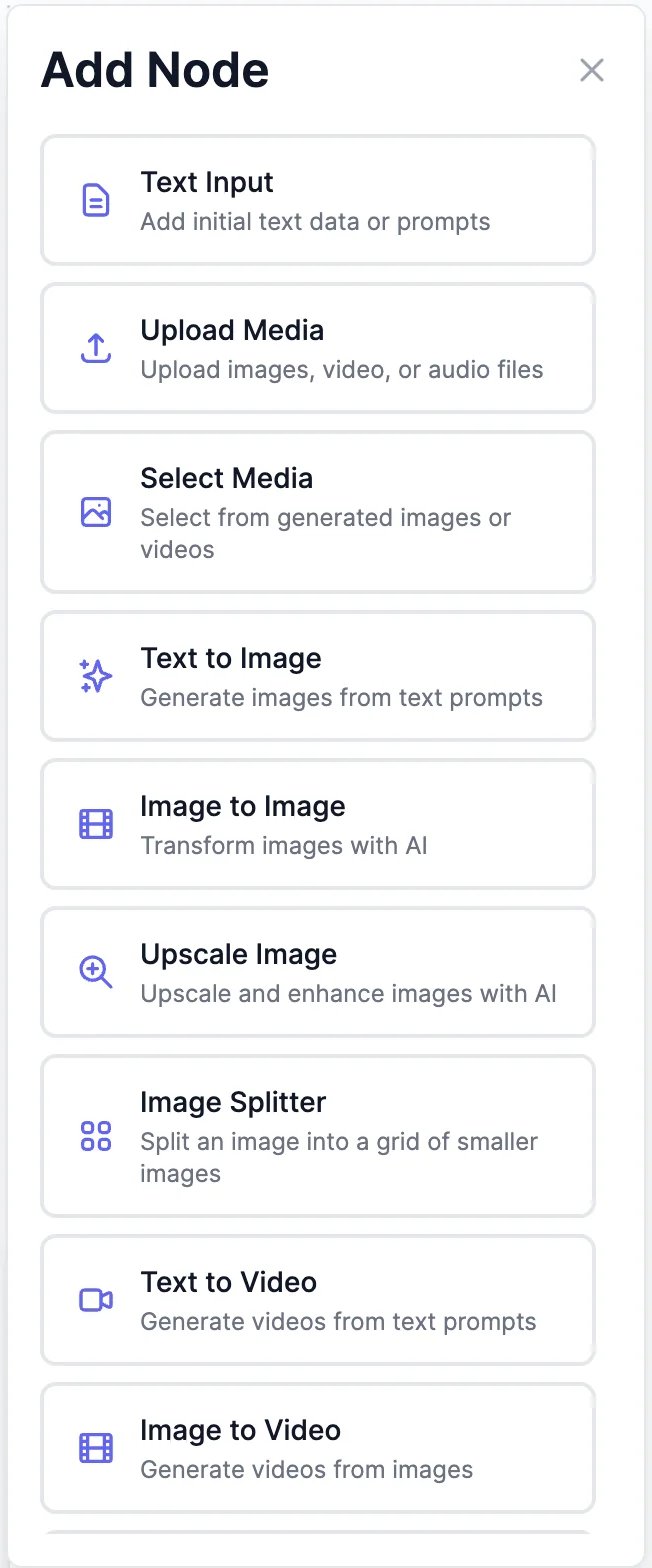
2
Connect the next node
Drag from the round handle on the right of a node to the left handle of another. Or drop the connection on an empty spot: a list of nodes that can take that output opens, with a search box.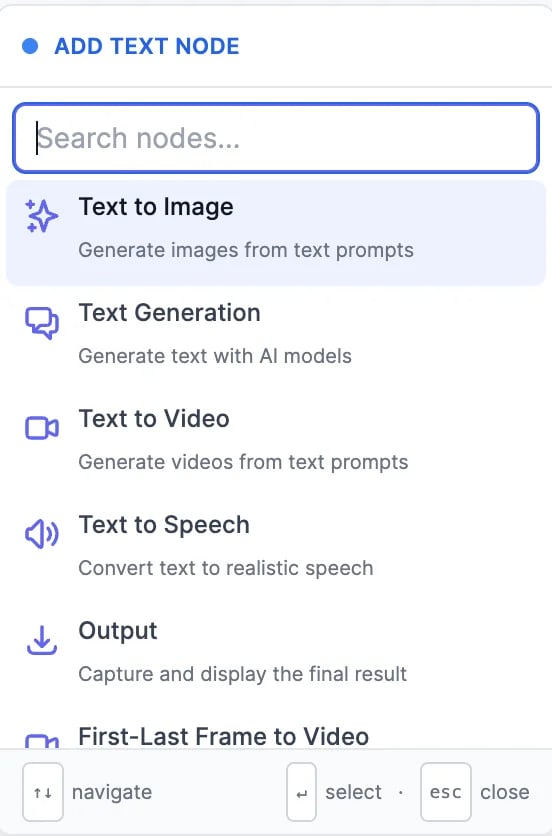
3
Use the result in the prompt
Connecting into a prompt adds a reference like
@#1 Text Input. When the workflow runs, the reference is replaced by that node’s result. Type @ in any prompt to reference another connected node, and add your own words around it, for example: “@#1 Text Input, in the style of a watercolor painting”.4
Set up each node
Pick the model and settings in each node. The Run button shows what a node costs before you run it.
Run a workflow
Click Run in a node, or the ▶ in its header. Before it runs, any node it depends on that doesn’t have a result yet runs first, so running the last node runs the whole chain. Nodes that don’t depend on each other run at the same time.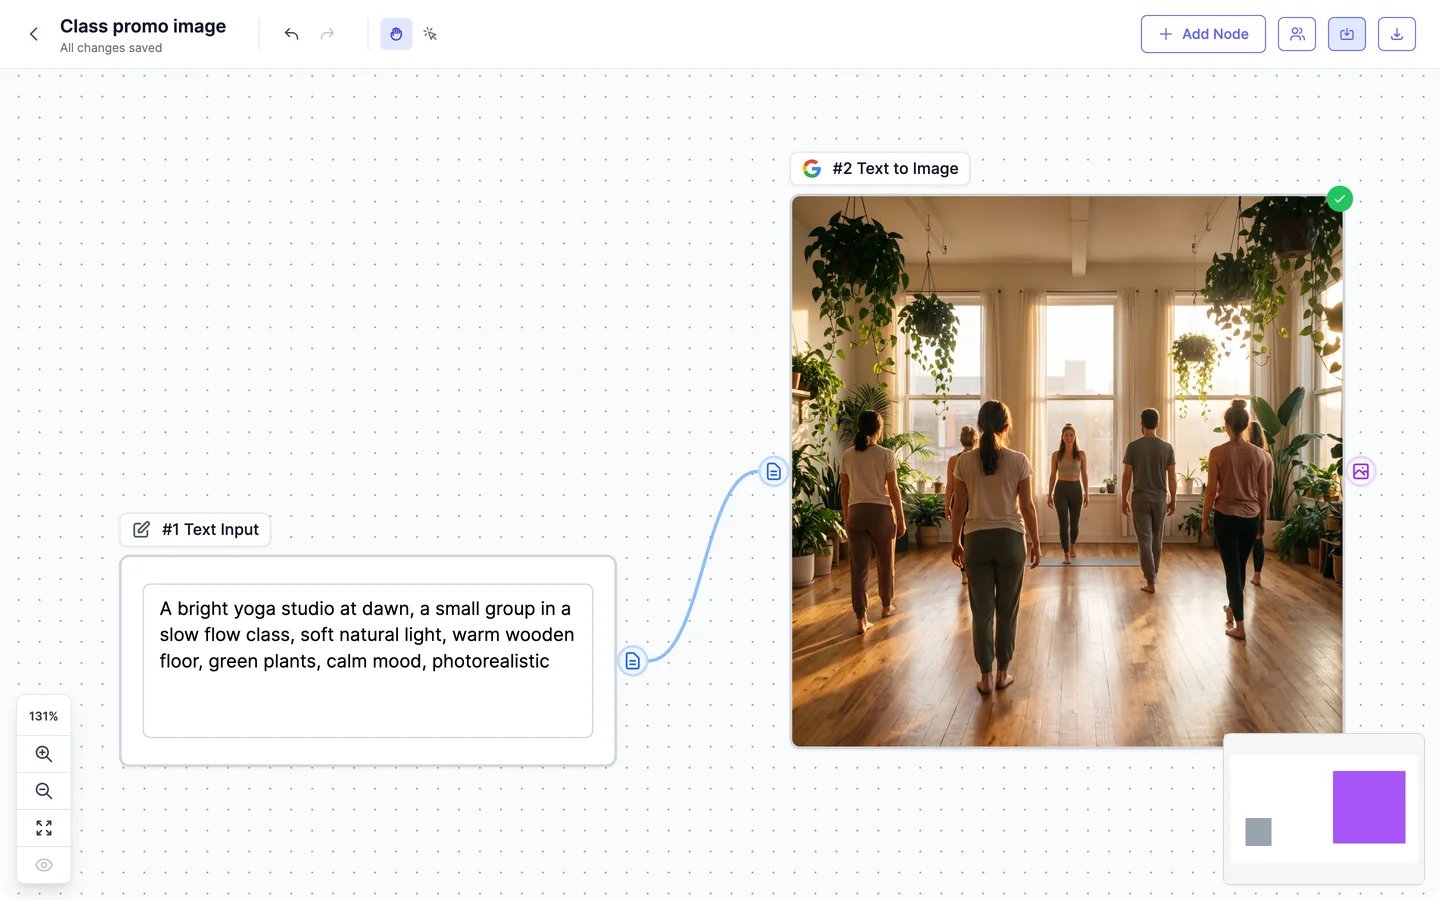
- A running node has a blue border. A finished one gets a green check, and its settings fold away; click the node’s settings icon to show them again.
- A node that fails turns red and shows why, for example a missing prompt or a model that isn’t on your plan.
- Results stay in the node. Open or download them from the node’s menu. Images and videos you make also appear in AI Images and AI Videos, and in History.
Nodes
Inputs
Inputs
Images
Images
Videos
Videos
Video nodes have the same models, lengths, aspect ratios, and resolutions as AI Videos. Their outputs include the video’s first and last frames, to chain clips together.
Text and audio
Text and audio
Organize
Organize
Select several nodes and click Group (or press Cmd/Ctrl + G) to put them in a group you can color, lock, and move together.
Work on the canvas
The top bar shows All changes saved once your edits are saved. The download button exports the workflow as a file.
What each node costs
Each node uses the same allowance, at the same price, as the feature it runs.
Whoever runs a node pays for it, including in a shared workflow.
On the Free plan, a node set to a premium model fails with a message to upgrade. Pick a model that’s available on Free; the default image model, Nano Banana Pro, isn’t. See Plans and credits.
Share and collaborate
Invite people and edit together.
Workflows
Templates, import, and export.